Category Archives: Tutorial

Need Help Choosing Your First Camera Light? Read On.

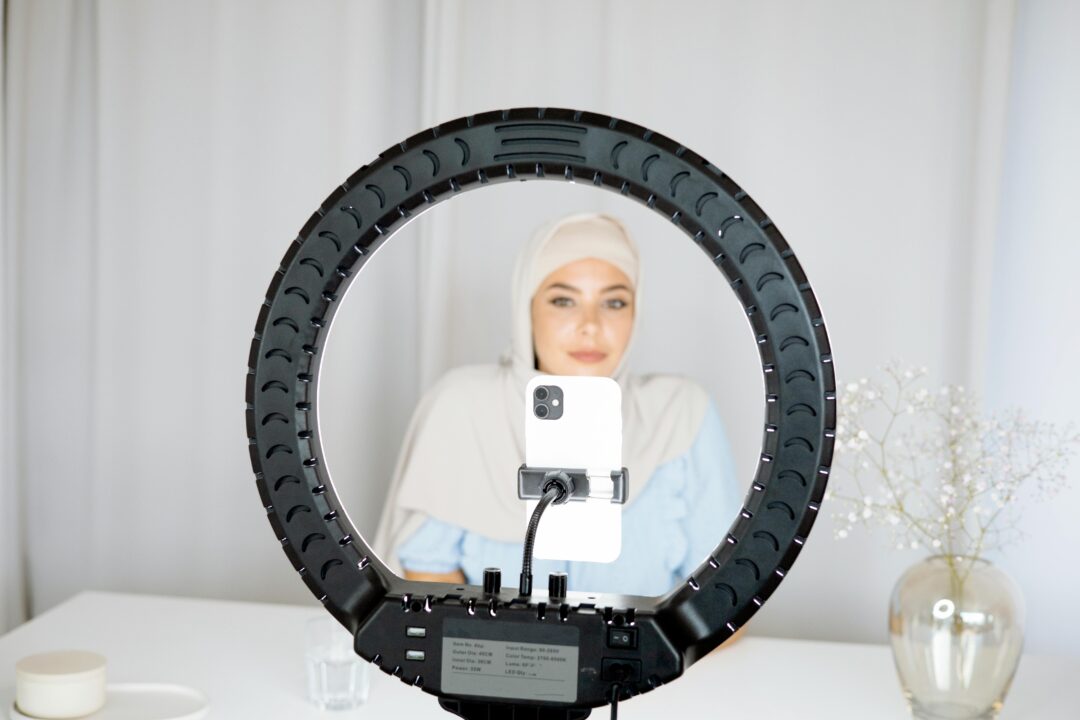
Why is a camera light so important? Because as a photographer, you must know that lighting makes or breaks a photo. Natural light is good in theory, but in practice, it cannot be controlled or adjusted. And it is no fun to play with. Strobe or continuous lighting for your camera is essential to getting the amazing effects you desire.

Choosing the best camera light for you might be difficult because so many alternatives are available. Brands like Godox, Nanlite, Aputure, AriesX, Profoto, Elinchrom, Broncolor – there are so many brands available to choose from. But your first priority has to be quality, not brand name. This blog will cover the features and specifications to consider when choosing your first camera light.

Before getting into the specifics, it’s crucial to keep in mind that quality comes over quantity. Invest in the highest-quality lighting you can afford, even if that means starting with only one. Before making a purchase, you should check the reviews, check out YouTube tutorials and if possible, visit a store to get a better idea. You can consider your lighting to be just as important as your camera and lenses in terms of your photographic equipment. 

The first thing to consider – Your camera light’s power.

The first thing to think about is how much power your camera lights will require. Options range from inexpensive 100W fill lights to potent 6000W capable heads with independent power packs. A unit in the 500W to 1000W range is a good place to start. It is preferable to have more power than less because there are always methods to dilute a light source, but producing more light can be difficult. Make sure the model you select allows for precise output control so you can adjust the light output for a certain exposure.

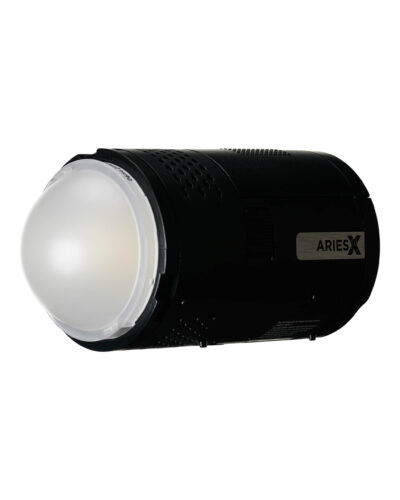
Check out some options here: AriesX Xpress 600 AriesX Xpro 600


What features does your camera light need to have?

The speed of your camera lights is vital if you intend to record motion or work with moving subjects. Because you are capturing quick motion, your light needs to be quick too. It is best to reduce the amount of time between successive flashes. And look for lights with quick recycle cycles. Several manufacturers have distinct modes, such as “Speed Mode,” “Freeze Mode,” or “Quick Mode,”. These shorten the duration and output to improve recycling time. In addition, High-Speed Sync (HSS), which enables you to sync your camera with the lights at greater shutter rates even in brilliant lighting settings is what you need for dealing with fast-moving objects.

Embrace the freedom of battery-powered lights

Hey there, are you tired of being tied down to your studio? And constantly stumbling over cords during your shoots? If you answered “yes” to either of these questions, then a battery-powered camera light is the way to go! It’s a total game-changer, giving you the freedom to take your lighting wherever your creativity leads you.

Now, don’t worry if you intend to shoot for a lengthy amount of time away from outlets. Just be certain to pick a camera light with a lengthy battery life, or better yet, grab some extra batteries. You don’t want to be that photographer who has to interrupt their shoot to wait for the batteries to recharge. Similar to controlling your camera equipment, being ready guarantees that you can continue to record those unforgettable moments without skipping a beat.

Therefore, venture out, explore, and never allow your lighting to stop you. Accept the convenience of a battery-operated camera light, and watch as your imagination soars to entirely new levels!

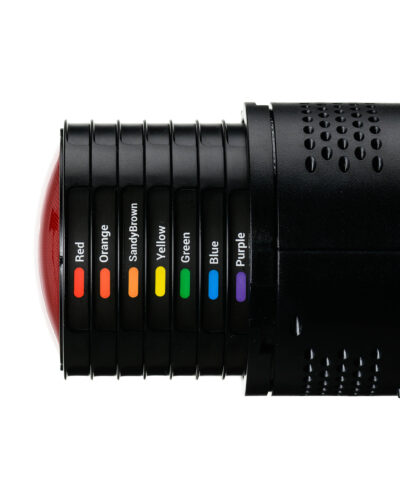
The AriesX Xpro 600 is one such light that offers you an insane amount of features. And lets you move around with endless freedom.

What is the best communication method for your camera?

You’ll need a form of communication between your camera and light in order to set off your camera lights while taking an exposure. Radio, optical, or cable connections are some of the popular options. Because they don’t require tangled cords and provide a dependable connection, radio transmitters have grown in popularity. Even smartphone applications like the Godox Light app can be used to control certain lights. TTL (Through-The-Lens) metering and other features are frequently added to manufacturer-specific remotes that are specifically designed for certain camera brands. 

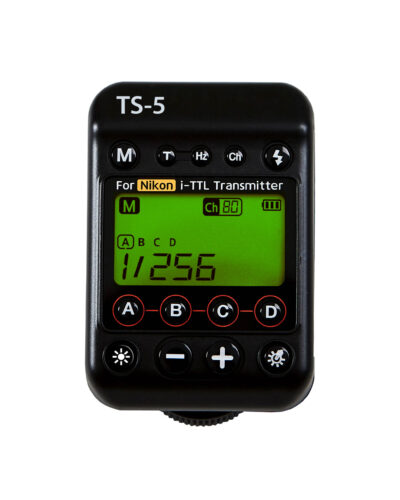
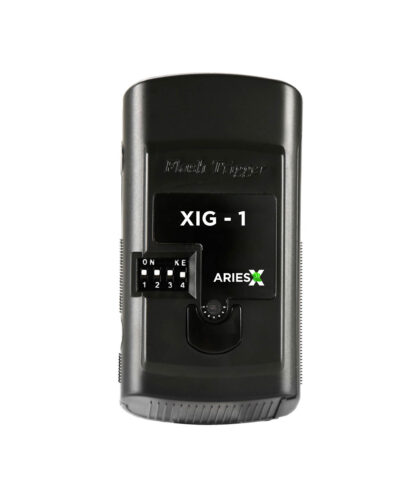
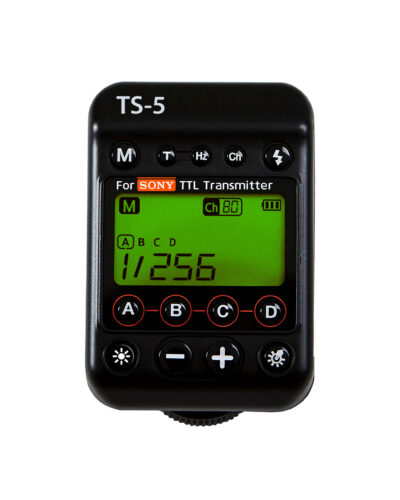
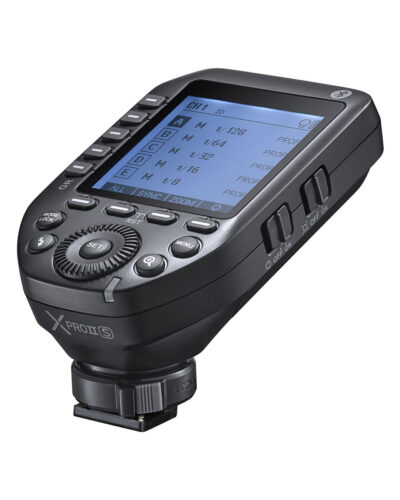
Don’t forget to buy the trigger for your camera.

The Advantages of LED in your camera light.

When you use modelling lights in your camera, you can see in advance how the light will affect your photo. When necessary, they can also act as a constant source of light. LEDs are replacing tungsten modelling lights because they give off less heat. And in certain circumstances, the ability to regulate colour temperature.

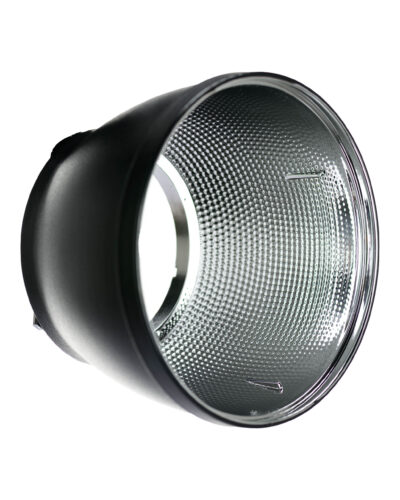
When working with your camera lights, think about making an investment in a reliable light metre that can assist you in balancing exposures. Make sure the light metre can efficiently turn on your lights. And use modifiers to alter and shape the light for more creative results. Common dispersion techniques include the use of umbrellas and softboxes. Besides, reflectors and beauty dishes offer harsher light for more contrast. And you can use gels to alter the colour of your light.

The AriesX Xtreme Series, both Xtreme 120 and Xtreme 240 have a modelling lamp that you can even use to shoot videos. Check them out here: https://www.youtube.com/watch?v=7FxZDgqBSM8

Finally, the biggest advice is to choose quality over number when selecting your initial camera lights. Power, speed, portability, communication choices, modelling lighting, and other accessories should all be taken into account. Making a wise choice and purchasing a high-quality camera light can help you build a solid basis for reliable results.



The Best Backdrops for YouTube Videos

Hello Youtubers. You’re all set to start your YouTube journey or maybe you’ve already started it. Either way, it’s crucial to take a moment and review your setup, especially if you want to present yourself as a professional. Read this blog to figure out the best backdrops for YouTube and your channel. And how to get a truly engaging aesthetic that reflects your unique brand. The secret sauce, as you might have guessed, is a stunning video backdrop. 

Why professional backdrops for YouTube are a gamechanger?

Alright, here’s the deal! Your subscribers love you for who you are, but your videos are more than just your face. Your backdrops, props, and wardrobe play a significant role in shaping your style and persona on YouTube. Think about it – what message does your backdrop send to your audience? Is it chaotic and taking attention away from you? Is it too plain and ends up boring your audience? It’s time to be creative and make it work for you! 

Read some of our blogs to learn more: Blog (studiobackdrops.com)


Affordable and Easy-to-Use Backdrops

Let’s discuss the awesome options you have right now that won’t break the bank. There are several inexpensive options of backdrops for YouTube available on our website. Seamless Paper backdrops, Wrinkle-resistant Fabric backdrops, Solid Colour Muslin backdrops, and Collapsible backdrops. These are reasonably priced, simple to use, and provide that professional touch you need. Here are some popular products of each category:

Seamless Paper Backdrops

+
This product has multiple variants. The options may be chosen on the product page
3,000.0018,500.00
+
This product has multiple variants. The options may be chosen on the product page
3,000.005,700.00
+
This product has multiple variants. The options may be chosen on the product page
3,000.0018,500.00
+
This product has multiple variants. The options may be chosen on the product page
3,000.0018,500.00
+
This product has multiple variants. The options may be chosen on the product page
Out of stock

Indus Papers Studio Background

Indus Papers Studio Background – #026 Beige

3,000.005,700.00
+
This product has multiple variants. The options may be chosen on the product page
3,000.0018,500.00
+
This product has multiple variants. The options may be chosen on the product page

Indus Papers Studio Background

Indus Papers Studio Background – #025 Coffee

3,000.005,700.00
+
This product has multiple variants. The options may be chosen on the product page
3,000.0018,500.00

Wrinkle Resistant Fabric Backdrops

+
This product has multiple variants. The options may be chosen on the product page
1,800.005,100.00
+
This product has multiple variants. The options may be chosen on the product page
1,800.005,100.00
+
This product has multiple variants. The options may be chosen on the product page
1,800.005,100.00
+
This product has multiple variants. The options may be chosen on the product page
1,800.005,100.00

Solid Colour Muslin Backdrops

+
This product has multiple variants. The options may be chosen on the product page
1,900.004,800.00
+
This product has multiple variants. The options may be chosen on the product page
1,900.004,800.00
+
This product has multiple variants. The options may be chosen on the product page
1,900.004,800.00
+
This product has multiple variants. The options may be chosen on the product page
1,900.004,800.00

Setting up your backdrops for YouTube

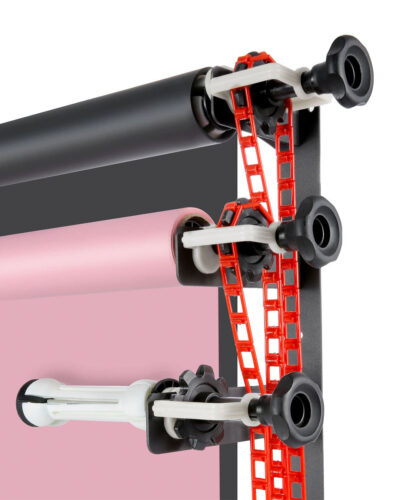
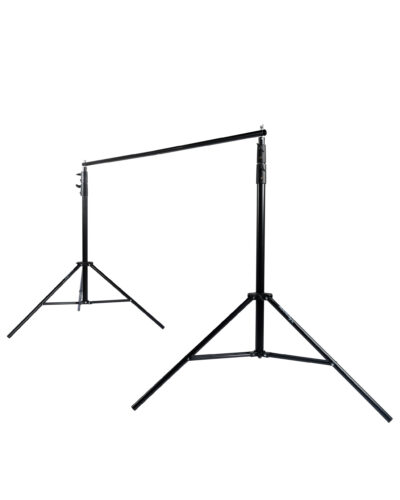
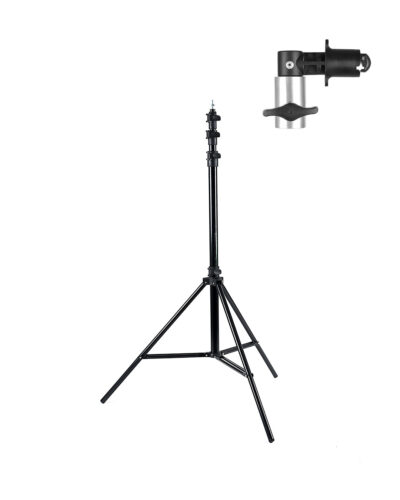
Don’t worry about needing expensive gear! Get yourself a Studiobackdrops backdrop stand to create the perfect setup. With this, you can easily set up your backdrop wherever you need. If you’ve got the space, we recommend our manual and motorized background systems. These can be installed on the ceiling or the wall and you’ll have a permanent setup. So if you have your dedicated studio space, then go for these background systems and make your life easier. 

+
Out of stock

Background Stands & Pulleys

TwistFlex Backdrop Stand & Clamp Combo

1,350.00

And if you have no room for a backdrop stand or backdrop system? No problem! We got you covered. Simply cut off the amount of paper needed to fill your video frame, then tape it to the wall. The seamless paper can also be placed on the floor, pulled up high onto the wall, and taped at the top. Roll it back up once you’ve finished filming, put it away, and use it again later. 

Also, fabric backdrops can be set up creatively too. Every fabric backdrop comes with a rod pocket. You can hang it like a curtain to get a cool stage to shoot on. Or if you want to go for something quirky, then you can even use random props like the back of your furniture to get a smooth set up.

Use colourful backdrops to improve your YouTube identity.

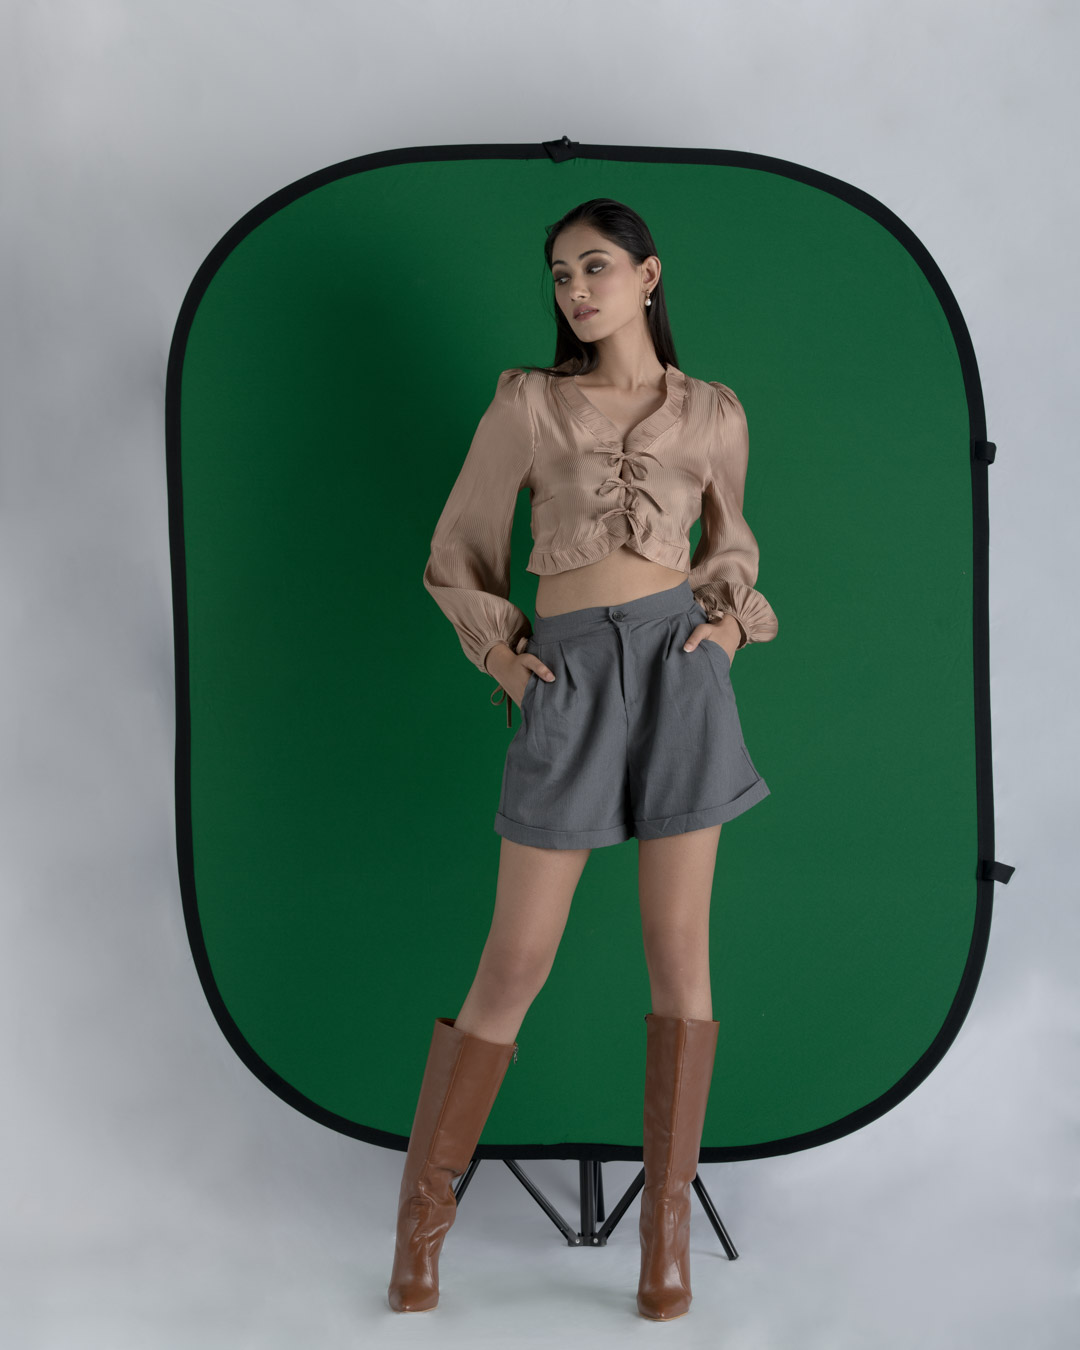
Here’s where the magic of colours comes into play. To increase the popularity of your channel, you can employ them wisely. A tech YouTuber with a lot of energy would prefer bright colours. If you’re a gamer then a green screen would be the perfect option for you. 

While a beauty expert with a delicate and subtle aesthetic might prefer pastels and natural tones. It’s all about conveying the mood and making your persona memorable.

A fashion influencer will have more awesome content if they change their backdrop game. Using a plain, boring wall in your home is going to make your audience yawn. Keep them engaged with bold colours that match your outfits. In fact, all the colours in the range should not be enough for you and your creativity.

Setting your stage: Unleash your creativity!

Now, let’s be creative! Your YouTube channel is a great way to represent your personality and brand. Choose patterns that fit your personality and help you concentrate. Do you vlog about a variety of themes in your lifestyle? Add some variety with patterned backdrops that go with your weekly video themes.

You can handle it! Setting up a new account could seem daunting, but with suitable backdrops for YouTube, your videos will look polished and appealing. So embrace your imagination, enjoy yourself, and let your self-portraits shine! The best backdrops for YouTube are ones that enhance your aesthetic. Backdrops that take your personality and turn it up a notch. When you have backdrops on your YouTube channel they add a pleasing look to your work. Your followers will adore you even more as a result. We wish you luck with your videos!

 Check out our YouTube Channel for ideas: Studiobackdrops YouTube


Black Seamless Paper vs. Black Vinyl

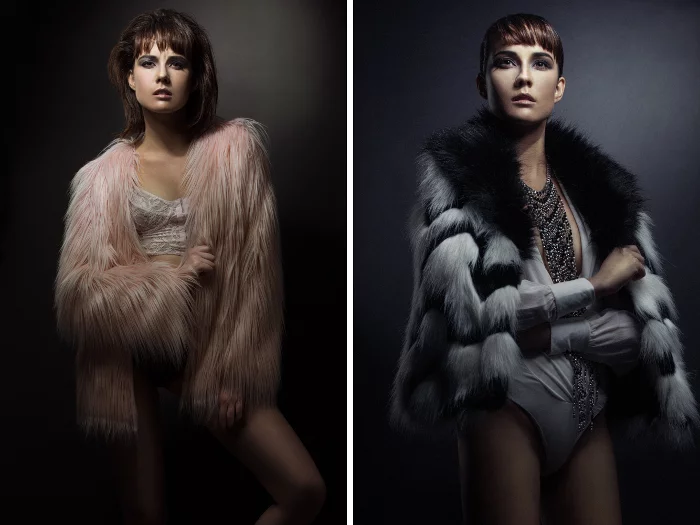
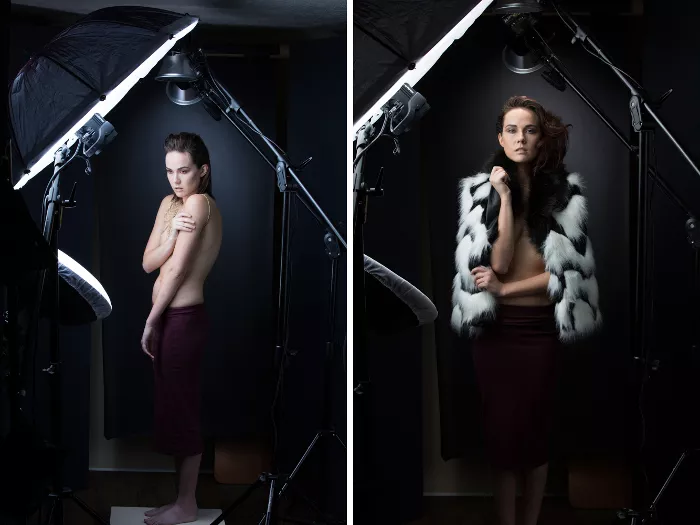
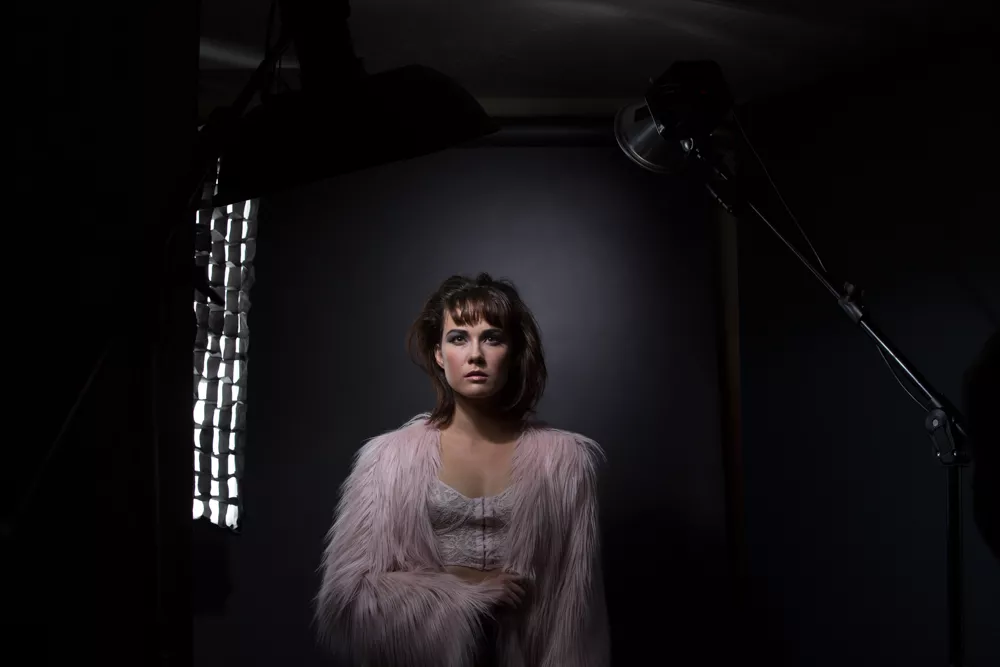
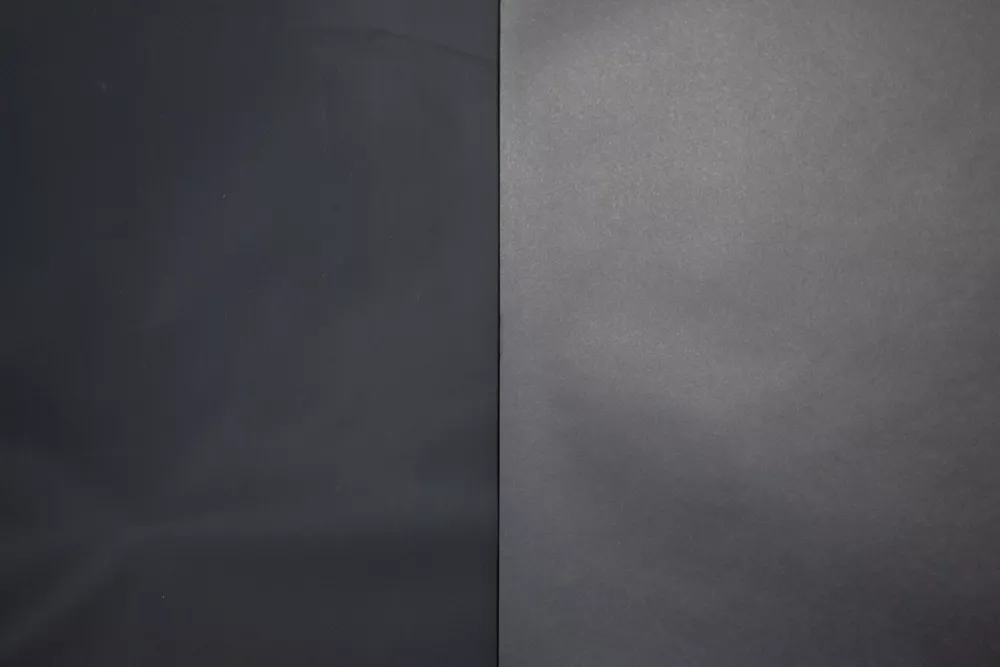
When I think of the color black, I think shadow, darkness and fear, which is similar to my mentality of shooting photography on a black background; I am absolutely terrified. When I started my photography journey, I thought shooting on black was just too cool. The shadows were dark, and the subject just seemed to sink into the background. I used a cheap black cloth background that seemed to attract more dog hair than my carpet, but I didn’t think anything of it. More recently, I’ve conditioned myself to shooting on canvas, Fashion Gray or Super White and my anxiety of shooting on black is at an all-time high. Over the past year, I learned to love subject separation and black never gave me the contrast I wanted in a photograph. After much debate, I decided to give black another shot and setup a test fashion shoot to compare black vinyl to black seamless paper as well as hopefully reduce the anxiety and revitalize that passion for shooting on a black background.

1. Material

-Vinyl

Upon initial inspection of the black vinyl, there was a nice dotted texture to the inside and a reflective slick surface to the backside. Obviously, I used the inside of the roll for shooting as the backside would offer far too much reflection. But, that’s not to say one could experiment with the reflective backside of the vinyl.

-Paper 

I’m used to shooting with paper, so when I opened up the roll of black seamless paper, it was no surprise. The inside is a flat matte black surface reminiscent of construction paper without the fabric texture. The outside of the roll furnishes the same type of surface.

Winner: Vinyl 

2. Light

-Vinyl 

Right out of the gate, I noticed that the vinyl seemed to absorb more light than the paper. Although, I liked the feeling and texture of the vinyl it really took a lot of light to bring out any form of gradient. No matter where I placed the background light it seemed to soak in the light like a sponge, no bounce, no reflection.

-Paper 

Compared to the light-sucking vinyl the matte paper seemed to appreciate my background light a lot more. It provided a bit more “room” to light and it didn’t require nearly the same power of light to become a dark gray. I liked how light spilled over the paper more, rather than the constricting feeling I got from the vinyl.

Winner: Paper 

3. Look

-Vinyl 

In camera, the vinyl appears jet black and is far more black than its challenger. Even with a light on the background the vinyl has the tendency to suck the subject into the shadows if you’re not careful. But, perhaps that is the type of photograph you’re after. If solid black with little to no flexibility with light is what you’re after, then vinyl is the answer.

-Paper

I like how versatile the paper was compared to the vinyl. It gave me the opportunity and ability to turn the background dark gray with light and at the same time jet black with no light. The look has a nice seamless look, with a slight texture that I really love. The fact the paper is also a lighter shade of black provides more value and usability when lighting.

Winner: Paper 

4. Endurance

-Vinyl 

I loved the fact that as soon as the model stepped off the vinyl I could take a rag and wipe off the dirt and clean the surface of the vinyl, something that I could never do with paper. Looking forward, I could see myself keeping vinyl around much longer than paper. It’s definitely a “green” option compared to paper.

-Paper 

If you’ve ever dealt with seamless paper, you know dirt will build up and at some point; you just have to cut off a top end of the paper for the next use. It seems like I’ve gone through enough paper to provide 10 notebooks per child at the local elementary school for years to come. I always feel wasteful cutting off 4’ x 10’ strips of paper, but it’s just something that has to be done, otherwise you could be spending hours in post-processing.

Winner: Vinyl

Obviously, there isn’t a clear winner here; the black vinyl has its advantages while the black paper has its clear advantages. At the end of the day, it really comes down to personal preference and the type of photograph you’re really after. Myself being a fan of gray and green, my final results showed a strong lean towards the black paper. I love the look of the paper, but the vinyl is a great lasting investment. Although the results turned out to be some of my favorite images I’ve captured this year, I was not surprised by what I was seeing on the back of my camera. I’m no longer terrified to shoot on black and that alone was worth the experiment.

Check out the BTS video of this shoot here!


Clay Cook began his creative career in the music industry, and after 10 years, his passion had leaned towards photography, cinematography and graphic design. Constantly collaborating with designers, national models, filmmakers and other photographers, Clay has built a reputable name as an award-winning internationally published photographer and filmmaker, specializing in fashion editorial and advertising photography. Clay’s work is featured frequently on world-wide photography blogs including Fstoppers, B&H Photo & Video, PetaPixel, SLRLounge, ISO1200 and BorrowLenses among others. Clay has been published in USA Today, First For Women, ProSales Magazine, Modern Salon, American Salon Magazine, Louisville Magazine, The Voice of Louisville, NFocus Magazine, STORY Magazine and Dark Beauty Magazine. Check out his website here.

Backdrop Colour Selection for Photographers simplified with the Datacolor ColorReader EZ Tool

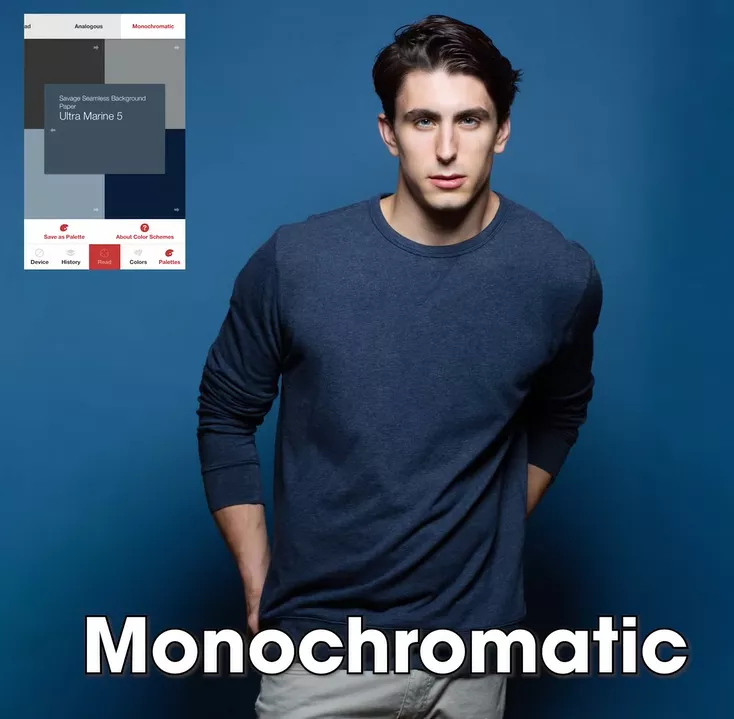
Datacolor, a provider of colour management solutions, debuted the Datacolor ColorReader EZ portable tool as the latest addition to the company’s ColorReader family of products, which includes ColorReader and ColorReader Pro.

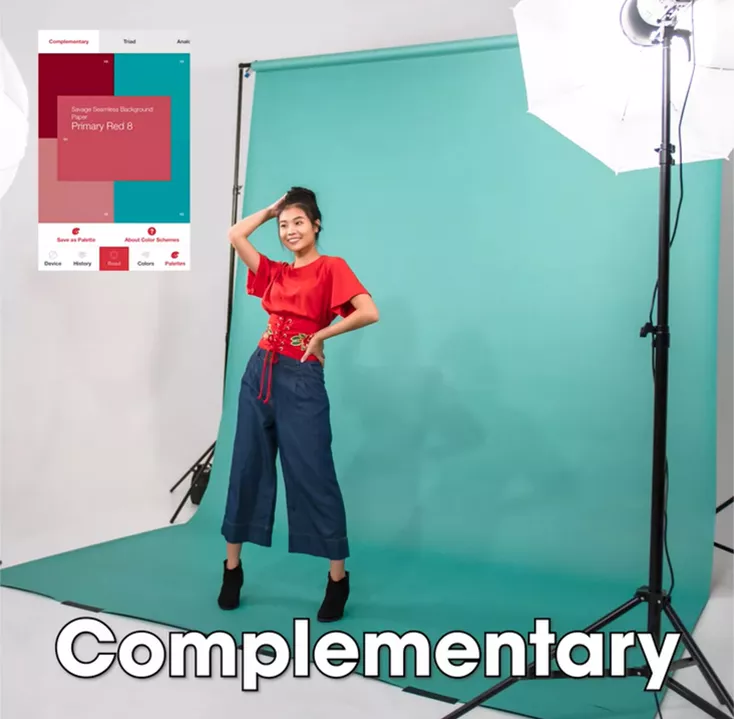
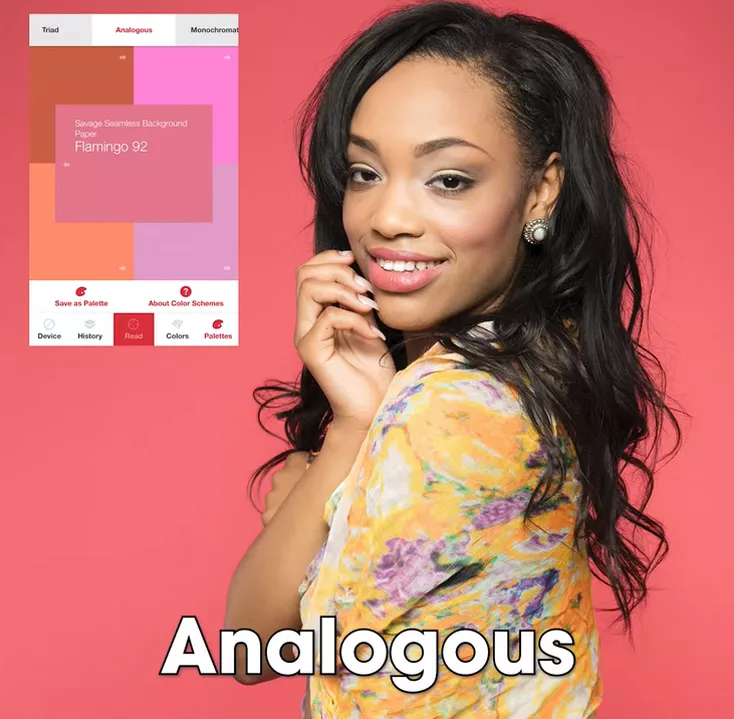
Now included in the tool’s colour inventory is Savage Universal’s full line of 55 seamless paper backdrop colours for users to match and coordinate background selection easier than ever before. This addition benefits photographers, set designers and stylists when planning photo shoots and creative sets. Colour theory is a significant consideration for these users, and the ability to quickly and easily find matching accessories, wardrobe or props to a backdrop colour (or vice versa) is an important step in their workflow. Photographers will also find it specifically useful for matching client brand colours to backgrounds for company headshots, interviews or commercials.

As Savage seamless paper is recognized as the photo industry standard for professional backgrounds, its integration into this colour planning tool will serve photographers, videographers and set stylists well.

Not only does the ColorReader device and phone application match colour values, it also provides an abundance of coordinating colour recommendations like complementary, triad, analogous and monochromatic schemes.


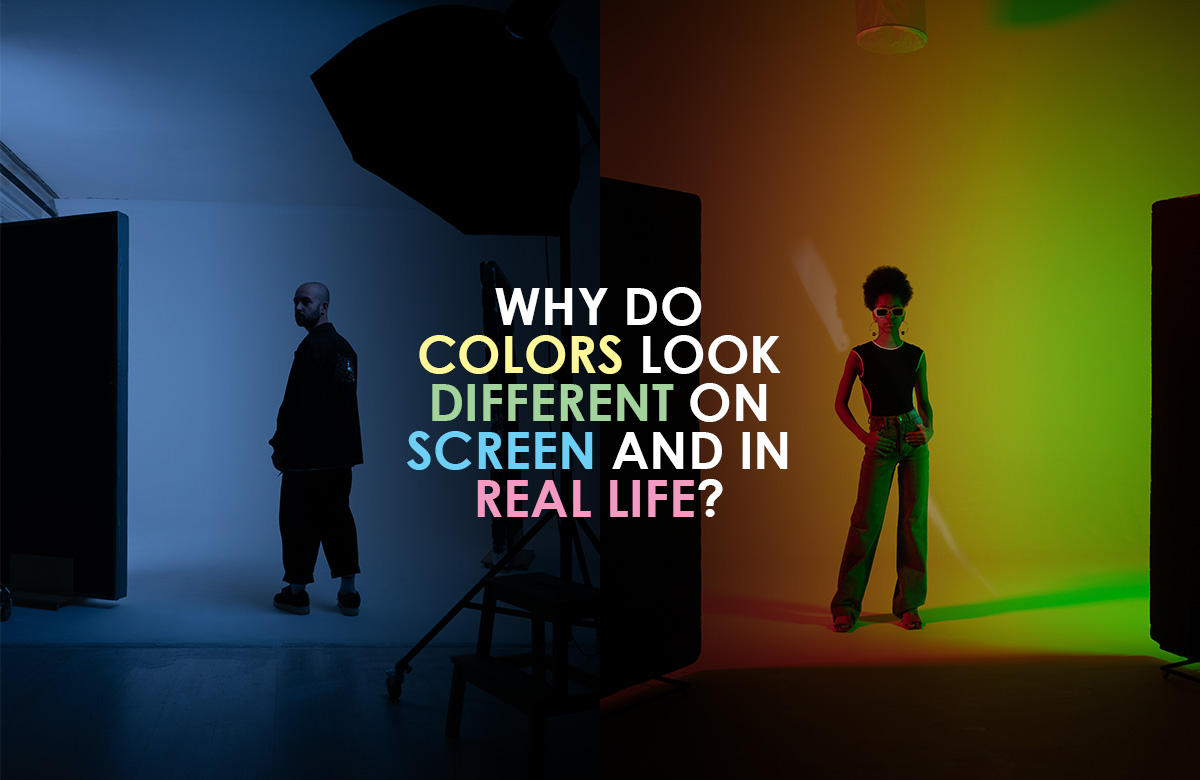
Why does Color look different on Screen and in Real Life?

Consider the following scenario. You see a wonderful product online, shot in perfect lighting in a photography studio. You happily place the order and wait for it. When the product arrives, you open it up in your room and the color looks different. You start wondering, why does this product look different?

The answer to your question is both complicated and simple. There are a few main reasons color looks the way it does, let us break them down for easy understanding.

1. Light Source Color Temperature

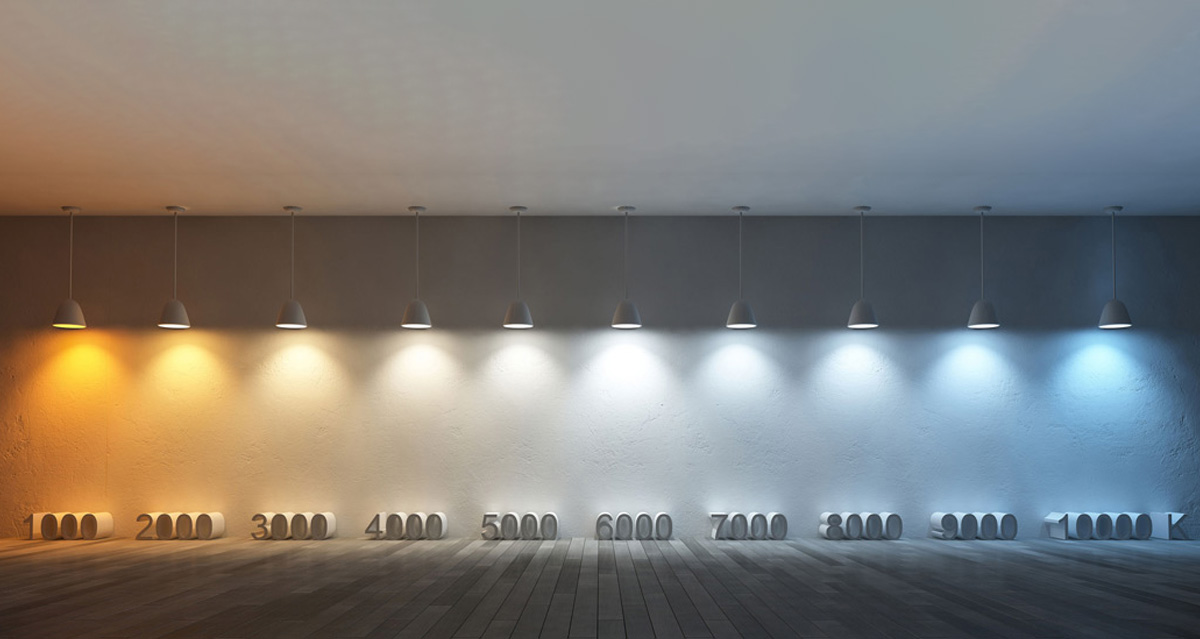
As time has passed and technology has advanced more and more different types and sources of lights have become available for use. Color temperature (expressed in degrees Kelvin, e.g. 6500K) is a convenient way to group lighting into similar color families. The lower the color temperature of the light source, the warmer or redder the source will be. The higher the color temperature, the cooler or bluer it will be.

Light sources can be broadly categorized into the following types based on their color temperatures:

a. Incandescent or Tungsten Filament

This used to be the most popular kind of light source available. A filament would grow brightly to produce light when electricity would be passed through it. These emit a yellowish-red hue and have a color temperature of about 2700K. Incandescent light sources add a yellow tone to colors when viewed in this type of light.

b. Fluorescent

Fluorescent light sources produce light when electrical energy is applied to a glass tube containing mercury together with fluorescent compounds called “phosphors”. These can be found in varying color temperatures due to a lack of standards in the manufacturing process. Even two lights from the same manufacturer can have different color temperatures.

c. LED

Light-emitting diodes (LEDs) have been used in electronics for over 50 years, but it wasn’t until the relatively recent introduction of white LEDs that they have become increasingly important in retail and consumer lighting. However, there are not a lot of standards in LED manufacturing processes either and this leads to varying color temperatures. The need for cheap LED lighting has further reduced the need for color accuracy.

Hence unless the original lighting conditions are exactly reproduced or your room lighting is carefully calibrated with a spectrophotometer to match the original color temperature, the color of the product will look different. Let’s not even delve into the more complex topics like metamerism, Light Reflectance Value of the Product, Luminosity and Chroma.

We at StudioBackdrops.com use 5600K lights with a CRI (Color Rendering Index) of 95 to photograph all our products. It is then further calibrated to the sRGB color space with the Datacolor Colorimeter and Spectrophotometer Systems.

2. Color of Screens

We usually assume that all electronics exhibit the same colors, especially devices of the same make and model. This is often not the case. Chances are when you put the same image on two monitors or screens side-by-side, you have at least a 95% of chance that the images will not look the same. There are two main reasons why colors reproduced on different devices look very different. The first reason is that the color mixing theory behind each kind of device is different, and the second is mainly due to mass production variation. Let’s look at each of these reasons a little more deeply.

a. Color Mixing Theory

Color is mixed mainly in one of two ways. One is using colored light, and the other one is using colorants. Colored light uses an Additive Color System, based on RGB or Red Blue Green. This is used for lights and monitors. In the Additive Color System Red, Blue, and Green light combine to form white light. The intensity of the light controls the luminance or darkness of the color.

Colorants on the other hand use the Subtractive Color System based on Cyan, Magenta, and Yellow as primary shades. This is used in pigments and dyes, which are used to dye fabrics and print images. In the Subtractive Color System, Cyan, Magenta, and Yellow combine to form Black. The amount of pigment used controls the luminance of the color.

Representing a Subtractive Color System based color on an Additive Color System based sevice usually causes variations in the colors.

b. Mass Production Variation

A screen or panel usually consists of 10 layers of components. The variation in mass production is usually at around 5% per component in order for it to be produced quickly and priced reasonably. Even if the variation is tightened to 2%, with 10 layers of components, the variation of the screen or panel could easily go up to 15% ~ 20%. Therefore, when the factory uses the panels right away without any adjustment or calibration, the colors will definitely be very different from unit to unit. This is the typical case for phones, monitors, projectors, TV, and even printers.

3. Personal Influences on Color

Have you ever wondered why you think a tennis ball is yellow and your friend thinks it is green? When it comes to the color of a product, it is often hard to get a consensus. We all remember the heated debates we had on that white and gold or blue and black dress. Here are some factors that can influence the color that you see.

a. Background

Apart from the brightness and light source of the viewing area, context also plays an important part in establishing color for the human eye. The relationship between the foreground or background and the product changes how our eye perceives the color. Optical illusion uses this exact relationship.

b. Geography

Even the color temperature of Sunlight changes depending on the time of day and our location on the earth along with factors like environmental pollution.

c. Age

Color perception in human beings definitely varies with age. Cells in the retinas of older people also lose sensitivity, which affects color contrast. Blues are especially likely to appear more faded in older adults, possibly because the lens of the eye yellows with age and cataract formation.

d. Subjective Color Vision

Color blindness (color vision deficiency, or CVD) affects approximately 1 in 12 men (8%) and 1 in 200 women.

4. Metamerism

Metamerism in textiles is a phenomenon where a fabric can look vastly different under different sources of light. This occurs because the colors of the fabric are created from different combinations of dyes or pigments, causing them to reflect and absorb the different frequencies of light differently.

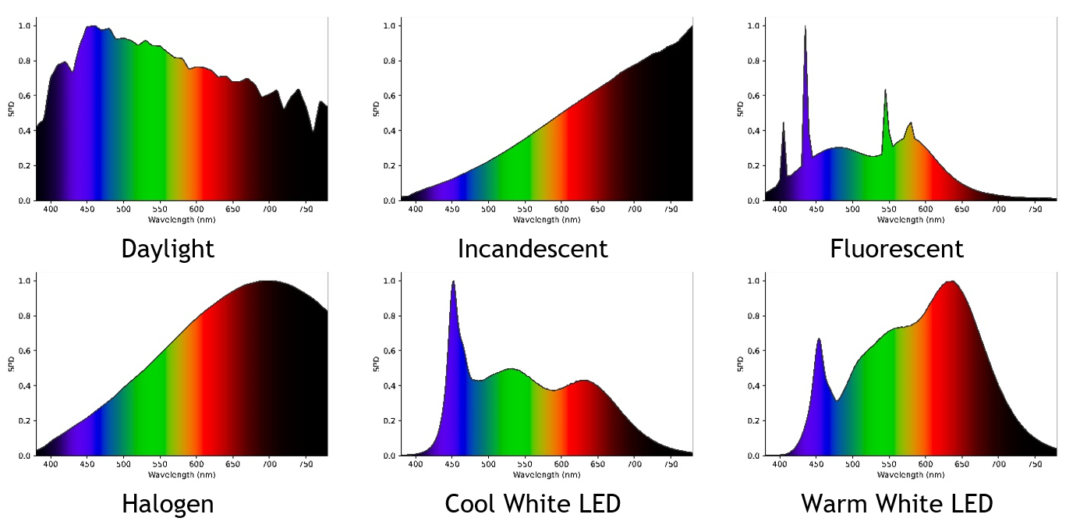
Image : Colour Spectrum of Different Light Sources

In the above image you can see that Daylight emits all the frequencies of visible light, however Incandescent bulbs emit very low amounts of the low frequencies and very high amounts of the high frequencies of light. Fluorescent and Halogen light sources are equally varied in their light frequency emissions. LEDs are the biggest offenders when it comes to recreating the colour spectrum of natural light as there is no industrial standard and manufacturers seldom care about the Color Rendering Index (CRI) of these bulbs to keep the costs low. The colour spectrum of LED bulbs varies greatly from manufacturer to manufacturer.

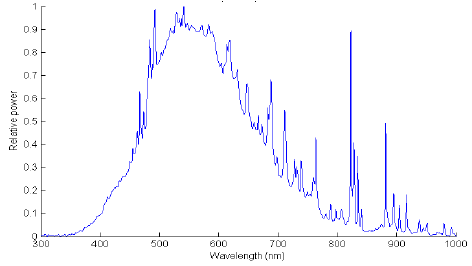
Image : Colour Spectrum of Professional Studio Flash

You can see from the colour frequency spectrum of the studio flash, it mimics the colour spectrum of sunlight but still has limitations in certain frequencies. Due to this capability, all our products are shot with professional studio flashes that can maintain color accuracy with every flash.

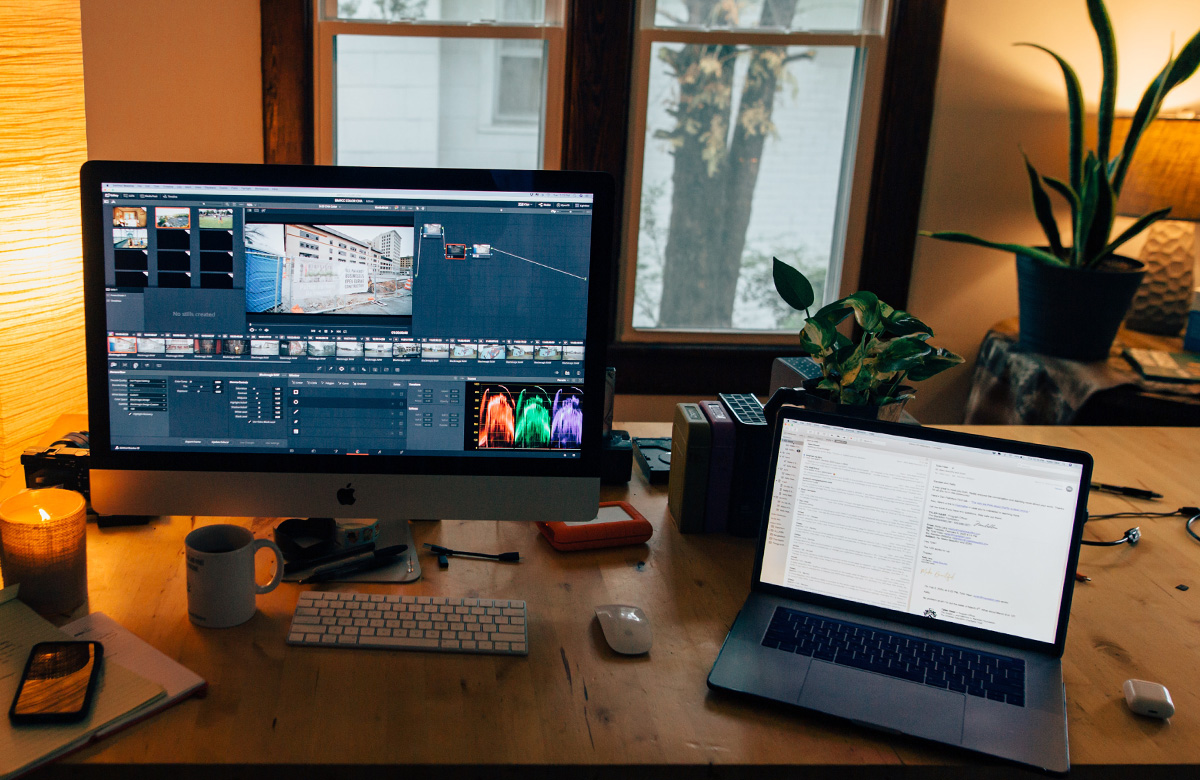
Hence in order to reproduce the exact colour of the website image, you will have to recreate the exact lighting conditions (as shown in the image below) and color correct the image with a tool like the Datacolor Sypder or x-rite calibrate.

What does this mean for you?

It means, that visual color assessment or using human eyes exclusively for color evaluation will have some significant limitations. Visual color evaluation is subjective. Observers have differing color vision and, therefore, color opinions. Color differences are difficult to quantify and communicate. Many variables need to be controlled including light intensity, angle of view, surrounding color, and light source quality.

It is almost impossible to state or declare differences in colors based on our eyesight alone. So the next time you buy a product and it looks a little different than it did in the product image, know that it is natural. And you can always change your lights or color correct your photos to achieve the color you desire.

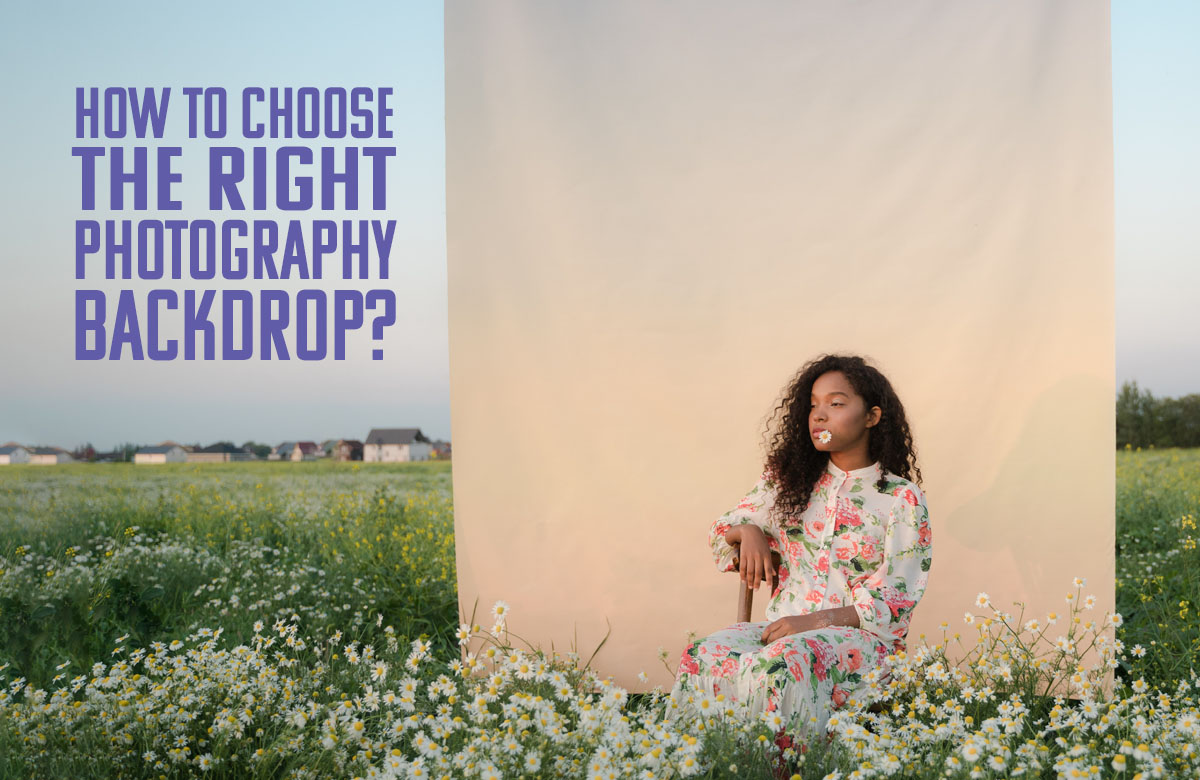
How to choose the right photography backdrop?

Regardless of whether you’re a beginner or a seasoned photographer, a photography backdrop is something that you need. There is such a wide variety available that you might question which one suits you best. 

The main purpose of a backdrop is to give you a dynamic background that allows for constant high-quality output. It works in tandem with the lighting to provide the optimum results, whatever your setting may be. A photoshoot can entirely depend on the quality of material used in the making of a backdrop. 

Paper is good for the seamless look

When it comes to shooting in a studio setup, paper backdrops are a no-brainer as they are very easy to use, and can be set up very quickly if you have an established setup. They are usually thick, ranging anywhere between 125 GSM to 145 GSM, making them resistant to wear and tear. 

Paper blends seamlessly without overshadowing the product. They come in various sizes so that selection can be made according to the needs of the photographer. The paper backdrops are to be used with a stand or a backdrop system that is mounted on the wall or ceiling. 

You can also use a backdrop without a stand by simply cutting out the portion you need for your set. The best thing about paper backdrops is that when they get dirty, you can simply cut off that part and unroll a fresh side.

However, due to their heavy nature, paper backdrops are not ideal for on-location shooting. It requires higher maintenance as it needs to be put away carefully after every usage. You also need to be very careful while stepping on the paper or around it as it can get dirty or ruined. If you are shooting by yourself and setting it up alone it will be difficult to handle the paper. 

Since they don’t interfere with the product, they are a popular choice while shooting products. Another reason why paper backdrops are preferred in commercial photography is the smooth appearance it provides, ensuring quick and hassle-free shooting.

Picture Credits : Rohan Sachdeva

Muslin’s portability makes it the popular choice of Photography Backdrops

Muslin backdrops have been used by professional photographers for decades now for multiple reasons. A Muslin backdrop works flawlessly in every indoor and outdoor location. All of our muslin backdrops are made out of 100% high-quality, non-reflective cotton, making them an excellent choice for both video production, regular portrait and commercial photography. 

Muslin backdrops are available in thickness of 165gsm and are suitable for heavy as well as regular use. They are more affordable when compared to other categories of photography backdrops, making them popular with amateur photographers.  

Muslin is a breathable fabric that is extremely forgiving in terms of handling and mobility. Another advantage of muslin backdrops is there are endless options when it comes to designs and colours. You can use these backdrops any way you want – you can spread it down on the floor, hang them using the rod pocket, and walk on them without fear. You can easily remove any wrinkles that appear on the backdrop with an iron or a fabric steamer.

Picture Credits : Manish Malhotra

Canvas is the classic photography backdrop

If you are on the lookout for textures in backdrops, canvas backdrops are the way to go. Since canvas is good at absorbing paints, it is the perfect material for creating different textures. Canvas is a textured fabric on its own and the material we use ranges from 250gsm to 300gsm. 

We offer you the largest range of handpainted canvas backdrops. Every backdrop is meticulously crafted by professional artisans who have decades of industry experience. They are created using industry-standard paints to give you the perfect matte finish that never cracks. 

When you invest in a canvas backdrop, you are investing in a backdrop that will last you for years to come. A canvas backdrop will elevate your images regardless of the setting. It gives you extra texture and depth in your images. We recommend that you store them with care and spot clean with a mild detergent if it happens to get dirty.

Picture Credits : Kalyani Ambike

Polyester is the New and Popular Photography Backdrop

Our range of Polyester backdrops is a fairly new player in the world of backdrops. Cheap polyester backdrops have been present in the market for a very long but they are not of the greatest quality. Any photographer who has used them understands why they are not the first choice for photoshoots. 

Our range of polyester backdrops has been created after months of research. This new polyester fabric that we offer has been tested several times to ensure that it is highly wrinkle resistant. The fabric is also completely stain-proof and can be washed as many times as you need. 

Our wrinkle-resistant range of polyester is extremely breathable and resistant to wear and tear. They come in solid single colours and are suitable for catalogue and portfolio shoots. Since the polyester is washable and extremely lightweight, the backdrop becomes portable to a fault, and a hassle-free choice for outdoor settings. 

The opaque texture and excellent light absorption by the fabric make it perfect for photo and video creation. They can also be used as a perfect green screen setup.

We know that Paper blends in to give you a smooth finish, polyester is highly wrinkle-resistant, and lightweight, and Muslin is available in the largest variety ever. Canvas, with handpainted options, open new doors to creativity. Each material serves a different purpose and we hope this blog has helped you understand their usage better.


Studio Lights – All you need to know

It is a well known fact that studio lights are a necessary part of photography. As an amateur photographer, you might start off learning photography by depending on natural light. But as professionals everywhere agree, moving on towards using studio lights for photography is a crucial step for every amateur.

The natural light from the sun and moon is free and you won’t need to spend a penny for it. However, it is not a source of light that can be controlled. The light from the sun in the morning and evening, is best suited for photography. But waiting for the golden hour to click images isn’t the best use of any photographer’s time. The light from the sun can also be too harsh for several camera applications. So, to be dependent on natural light for your photography means you are restricting yourself.

What are studio lights?

Studio lights are essential tools for photographers to illuminate their images and videos. Lighting is a very important tool when it comes to controlling the image. And using studio lights in an effective way is an art in itself. It improves the quality of your photos and can offer some creative assistance that can set your final product apart from others. They are a common sight in studios, and the variety of lights tell every one of them has a specific use for different kinds of photography.

How important are studio lights for photography?

Lighting forms an important component in professional photography. Playing with lights isn’t simply about highlighting the subject or creating darkness, but also about the mood, the vibrancy and the tone of the photography. A professional photographer would know how light would impact the picture based on its placement.

Their knowledge of contrast helps them use the studio lights in an effective manner. Without the proper usage of lights, the photograph can be blurry or grainy. The understanding of one’s camera limitations and thus using the studio lights according to those restrictions can also yield outstanding results.
The different kinds of studio lights

Continuous Lights

Continuous lights are those that stay on constantly, giving you a stable source of light. They give you a preview of how the final image will look, as with these lights you can see what will be captured in the camera. There are two kinds of continuous lights

Hot Lights

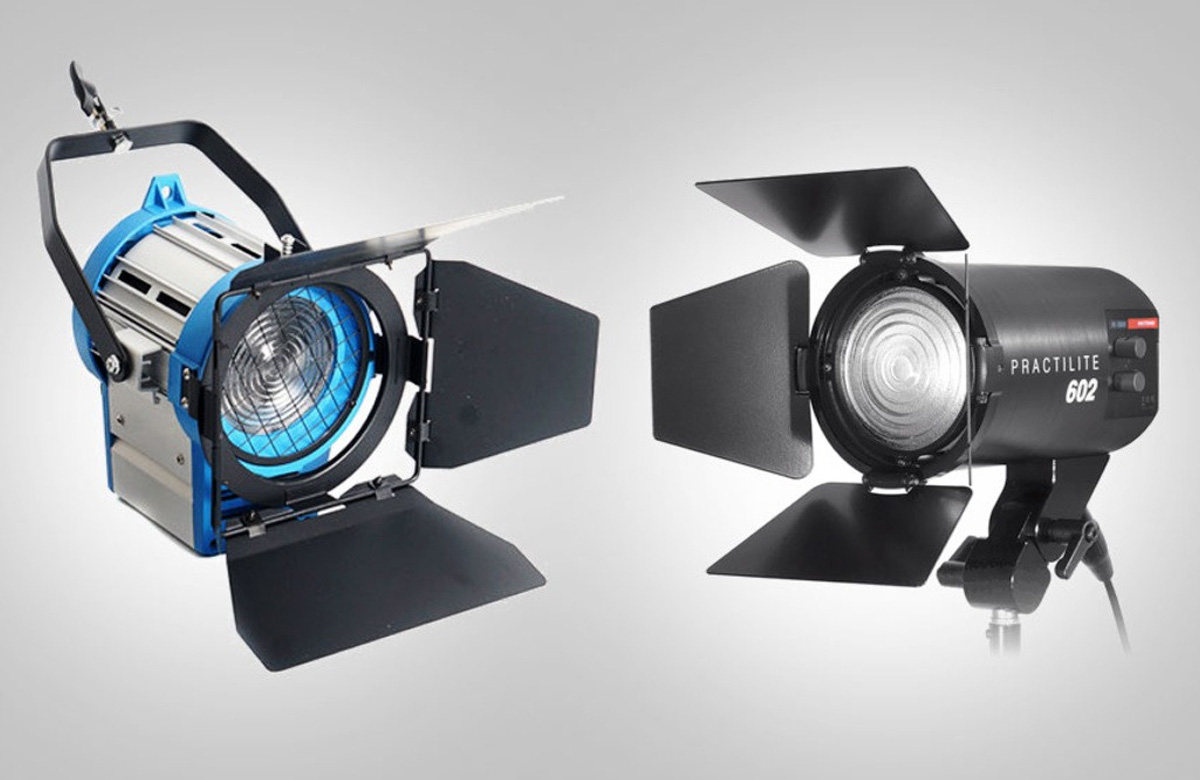
Traditionally, hot lights are what have been used to create images and videos. They produce a lot of heat while they are on, and they provide a warm source of light.

Tungsten Lights: The best example of hot lights is Tungsten Lights. They are the most commonly used light source in professional fixtures as they are small, bright, and affordable. They produce a light with the colour temperature of 3200K and it is best to adjust the white balance in your camera while using them. The light emitted from tungsten lights covers the entirety of the visible light spectrum and beyond, which means they produce rich, vibrant and accurate colour. They can burn for hours but they require a lot of power and heavy duty fixtures. They are a great investment if you need something powerful and affordable.
Options available in India : Digitek DPL003, Metro Cine Light Multy

Cool Lights

Fluorescent light: These lights are often used for product photography. They are energy-efficient, and they don’t overheat. They come in multiple hues, like yellow, red and green. These lights consume less electricity and offer a diffused bright light which gives a lower contrast. Using a fluorescent white balance setting is recommended while using fluorescent lights.

Options Available: Sonia Trilite

LED light: LED lights are perfect for adjusting colour temperature. The lights can be modified or adjusted according to your need, as they are dimmable. Through LED lights, colours can be captured with more intensity than they are in real life, thus saving you a lot of time in post-processing your image. Because they are cool in nature, they provide a comfortable atmosphere for the photographers and the subjects.

Options Available: DIGITEK D-200ML, Godox SL60

Strobe Lights

Strobe lights give out a multiple bright burst of light. They have a power output between 100 to 1000 watts. The higher the power, the longer the distance you can use strobe lights from. They are also known as moonlights. Because of their immense power, these lights can be placed farther from the subject. One of their unique qualities is that while shooting outdoors, these lights can overpower sunlight and give you the desired effect without any external interference. They recharge quickly and you can take multiple shots in a shorter span of time. They are often confused and interchangeably used with flash lights that perform the same purpose, but are smaller units that are usually used on-camera. There are three types of strobe lights.

Battery-powered:

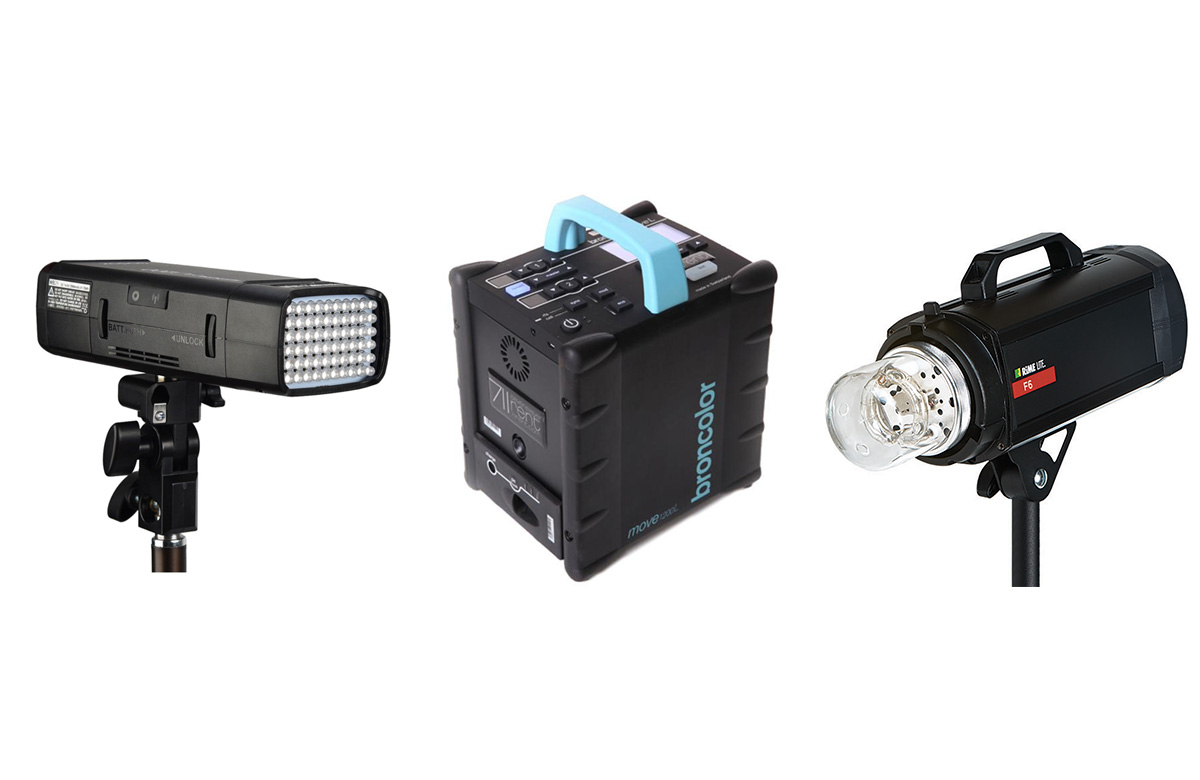
Battery-powered strobe lights come in handy in case of a mobile setup. These lights come with a variety of settings that can help you make the best use of light. The battery-powered strobe light systems also include a hotkey that can turn any camera into a wireless.

Shoe Mount:

The shoe mount is a bracket placed on the top of a camera. It has an adjustable head which can be used around to make the light bounce off surfaces. Shoe mounts provide extra light in case of darkness, as the addition of flash gives a boost to light and makes the subject visible enough to be clicked.

Monoblocks:

Monoblocks are usually powered by AC power sources. It has a light head and a power source, both in one compact housing. One of its important functions is to allow the photographers to preview the flash before clicking the picture, and thus adjust the settings beforehand. This becomes possible through the modeling light.

For all types of lights, be it continuous, strobe or flash, a monolight lighting kit is a great tool which provides you with an opportunity to arrange a complex lighting setup. Monolight lighting kits have different accessories in them. Some may contain softboxes, others may have boom arms, some may have snoot, and so on. These lights come with flash heads, which can be of varying numbers. These provide a great deal of compactness and offer various lighting techniques, given they use multiple heads.

Choosing the right studio lights

As professional photographers, it is obvious that you’d like to take your time before choosing the right camera and lenses. Yet, in the quest for that perfect camera which enhances your photography and produces incredible results, often the importance of lights is snubbed. Studio lights are an essential element of professional photography. Their usage sets the theme and tone of the photograph and boosts its quality. This is why it’s important to understand how to choose the right kind of studio lights. There are different lights used for different purposes in studio photography.

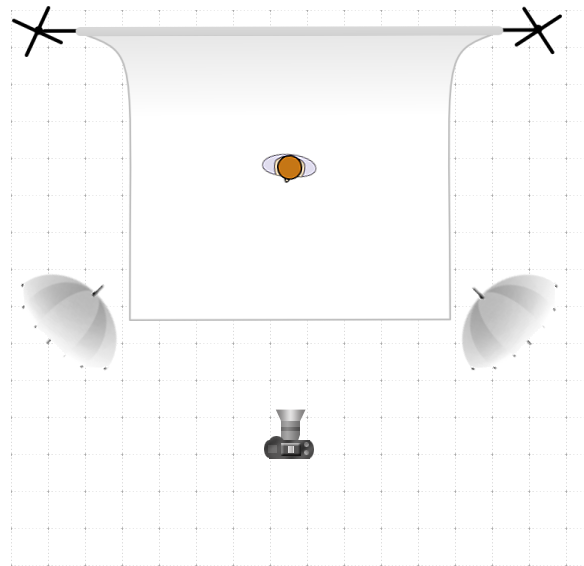
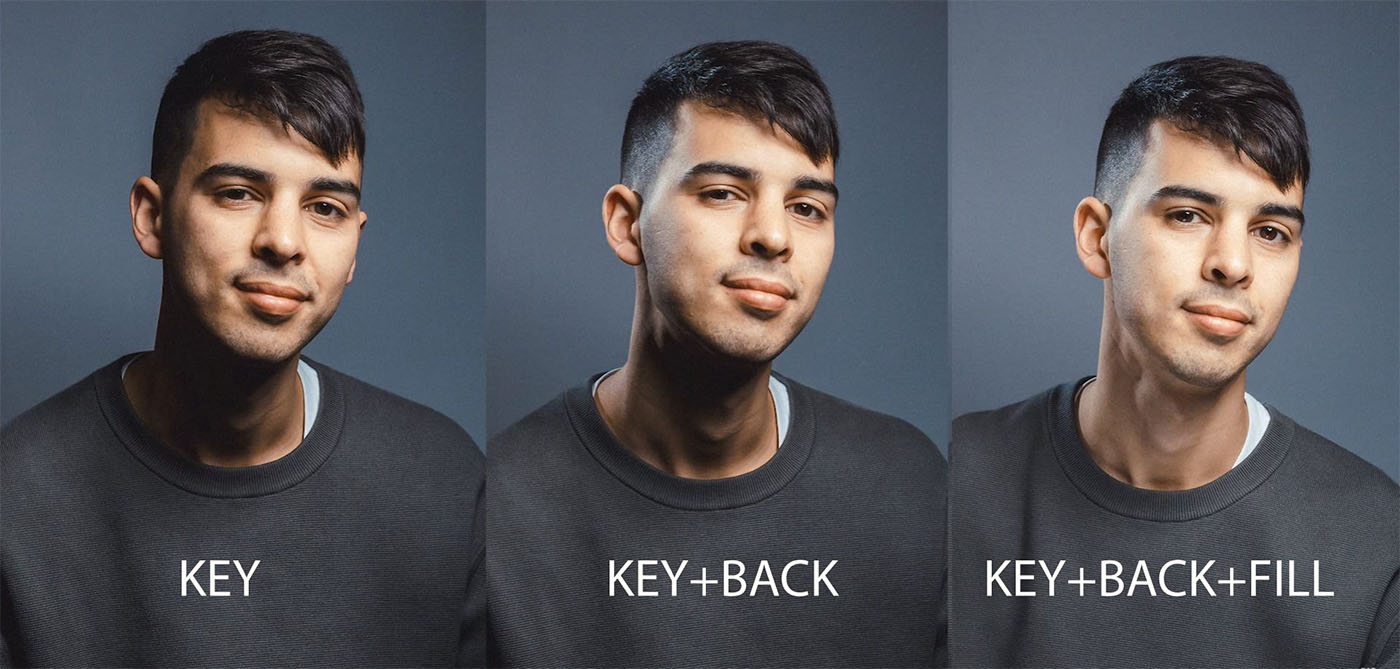
Key Light

Key light is the most crucial element for an artificial light source. As the name suggests, it is always going to be the primary source of light despite you setting up a multi-light source. It makes or breaks your images.

Fill Light

Fill light brightens the shadows caused by the key light. It is an extra light to make sure the distribution of light is even and the subject is well lit.

Hair Light

Hair light is supposed to light up only a small portion of the subject. In this, the light beam is narrow, so as to not fall on the large part of your subject. If you want to highlight a larger area, you have to move the light further from the subject.

Background Light

Background lights prevent your background from getting dark due to different lights thrown at the subject. They also help in removing the shadows cast on the background. It is usually dimmer than the key light, but can also be equal to it in power.

Camera Mounted Flash

The advantage of camera mounted flashes is that they are portable and are easier to move around than the light stands. Outdoors, they serve as fill lights, filling up the shadows perfectly if set in low light. The camera mounted flash is mostly used in receptions and other ceremonies, due to their portability.

Depending on the type of photography you like, the lights vary. It is also about whether you want to shoot outdoors or indoors. It comes down to your budget as well. Studio lights can make or break your image. With varying qualities, they offer a wide range of options to help your photography shine and produce a smile on your client’s face. With an insight to the kind of lights there are, you can be a master of photography skills, and grow considerably as a professional photographer.

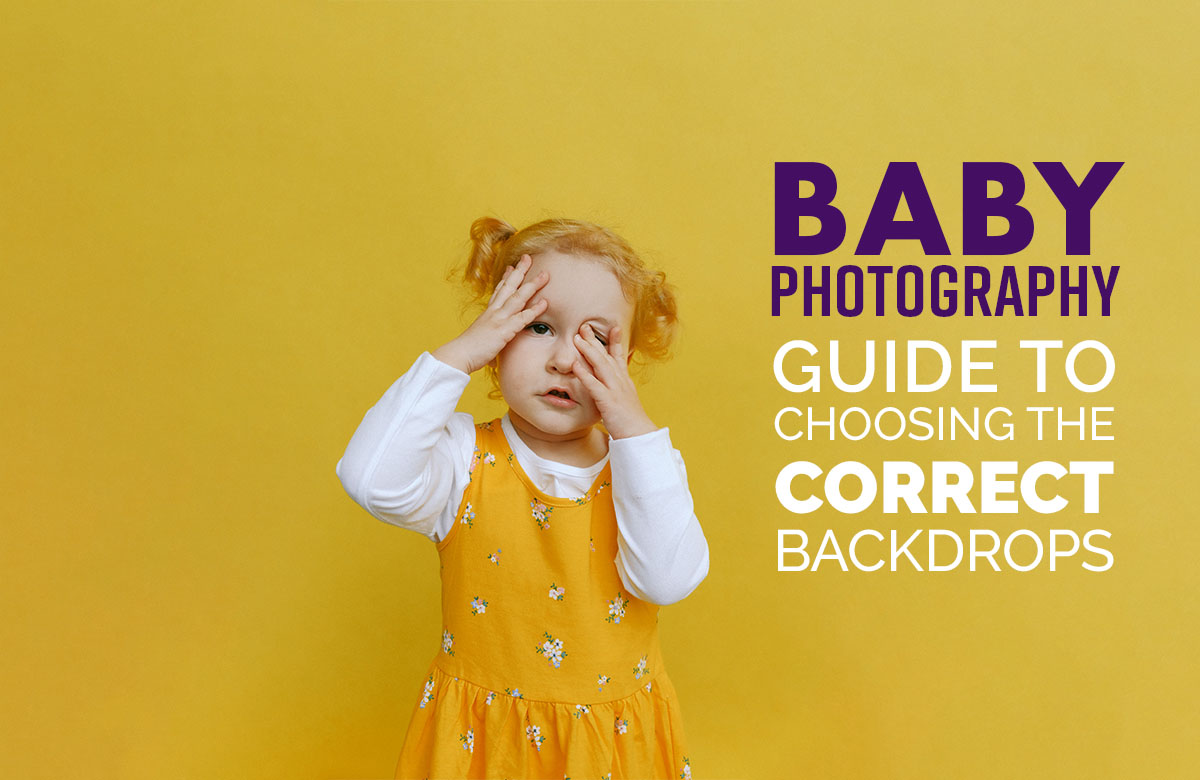
Baby Photography – Guide to choosing the correct Backdrops

Baby photography is definitely a joyous exercise, but it’s equally challenging too. When the reaction of your portrait’s subject is unpredictable (in this case a little infant), the right selection of backdrops becomes pivotal in setting the expected mood.

These backdrops can set diverse varieties of ambiance as per your client’s demand. They can create premium finesse to your final photographs, breathing life into these photos. But most importantly, these backdrops are a must for highlighting those adorable expressions that a little baby tosses at you.

So, here’s a complete guide for choosing the right backdrops for baby photography. This guide will give you all the required skills to understand the very demand of a baby photoshoot and the importance of backdrops in answering that demand.

What is Baby Photography?

Whether it’s their baby’s smile or walk or sleep – parents wish to treasure every little memory of their baby. No wonder, the demand for baby photoshoots is skyrocketing worldwide.

Baby photography or newborn photography is an extremely patient exercise of capturing memorable photos of a baby. These kids belong to a delicate age group of one month to five years. Therefore the comfort of the child is considered as the core of baby photography. In fact, maternity photography can also be seen as a form of baby photography. This equally requires care, caution, and kindness.

Baby photography is one unique genre where your expert assistants are actually the child’s parents. They can help the photographers to make the baby giggle, laugh, crawl or sleep. Accordingly, you can steal your best shots from these natural reactions of the baby.

However, what completes a baby photoshoot is the right ambiance. And this is where the right choice of backdrop becomes important.

Are Backdrops Important for Baby Photography?

Today, many parents simply use home-based props and sheets to create a setting for baby photography. However, a proper backdrop has the ability to freeze time like no other alternative.

These backdrops have almost become a necessity now as they are the standard practice to create timeless photos.

Defining the mood

Backdrops determine the vibe of a photo shoot. Vintage-styled, fairy-themed, or vibrant candids – the correct choice of backdrop will give you the exact mood you wish to set.

This is particularly important in baby photography because unlike adults, documenting babies is fairly unpredictable. The child might not respond in the way you wish them to be photographed. So, the backdrops become essential in setting the mood where portraits come out wonderfully, irrespective of the subject’s expressions.

Framing emotions

Another major role of backdrop in baby photoshoots is to create splendid close-ups for capturing baby’s emotions. Backdrops can create an effective depth and highlight the child’s expressions. No doubt, these backdrops are basic ingredients for a timeless portrait.

The comfort of the child

Photographers specializing in the genre of baby photoshoots are not just experts in the photography domain. They also excel in understanding how crucial the comfort of the baby is.

They understand that outdoor photoshoots can become taxing for little babies. Weather can occasionally get harsh and create unease. However, with backdrops, you can ensure the comfort of an indoor setting while maintaining the required background.

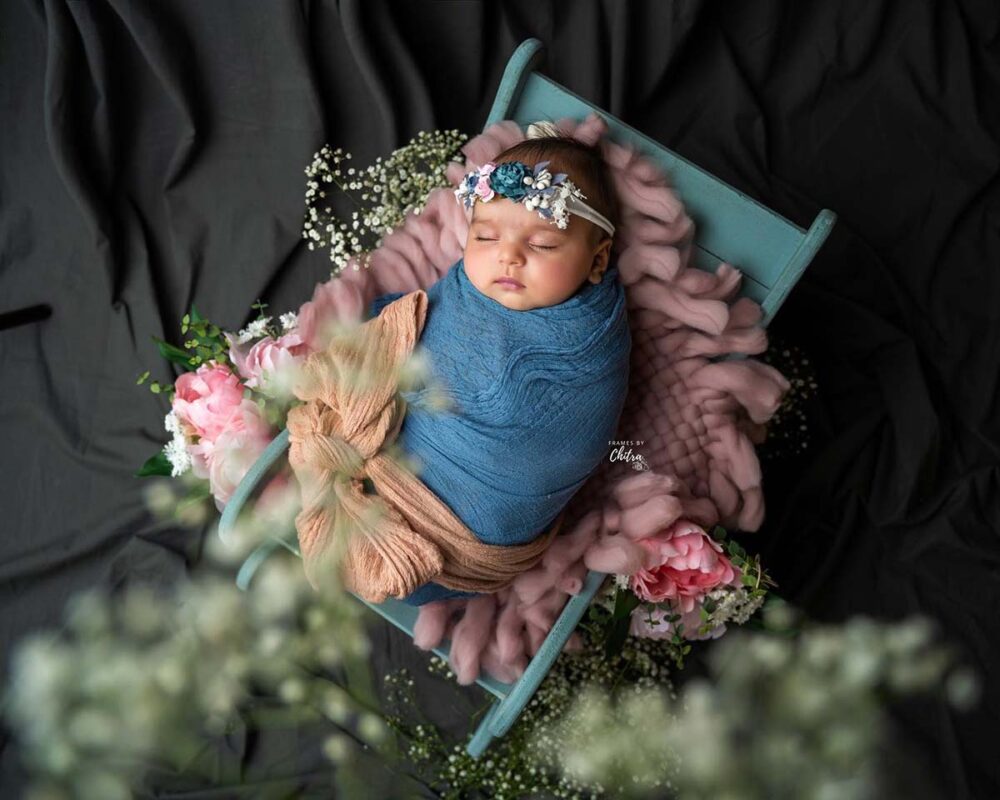
For instance, printed backdrops with a sky theme can produce pictures that are even better than photographs taken in an actual outdoor setting.

Image by Chitra Vora

Telling a story

Backdrops have a unique way of storytelling. This is precisely what parents expect. They wish to see a story of their child spoken through the pictures when the baby herself or himself cannot speak. Your backdrop sets a context to your images giving base to the story you wish to show through the pictures.

Choosing between Paper and Fabric: Pros and Cons

Different kinds of backdrops create different effects on your photographs. Therefore, it is important to closely understand these effects and choose the most suitable one for yourself.

Image by Anup Srinivas Reddy

Paper Backdrops

Paper backdrops come in seamless paper rolls. They can simply take your portraits from plain amateur to pure professional grade. They offer multiple advantages as discussed below. The diverse varieties of colors available in paper backdrops and their non-reflective nature have made paper backdrops, a must-have tool for photographers. The rolled nature of the paper and a decent thickness make the setting-up part very convenient. More importantly, the smooth texture of the paper is very comfortable for the baby as well. However, paper backdrops can be relatively fragile. Walking on the set can be harmful to the sheet. Especially during baby photography when you are supposed to keep the comfort of the baby as a priority, some wear and tear become unavoidable.

Fabric Backdrops

As the name suggests, fabric backdrops are cloth-based, available in different kinds such as canvas, muslin, and polyester. Advantages offered by fabric backdrops have made them reliable support for photographers worldwide.

The storage and portability convenience of fabric backdrops, especially muslin is unmatched. The depth and texture given by canvas can make you fall in love with the portraiture. The wide varieties available in fabric backdrops have made them useful in both product and portrait photography. When it comes to baby photography, fabric backdrops help you get those classy professional shots you desire and their long-lasting nature makes them a wise investment too.

However, one must remember that the fabric should not be uncomfortable for the baby. Moreover, Canvas backdrops might be a little expensive. The easily wrinkled textures on muslin can be a trouble to handle as well.
Despite this, professional photographers understand how precious these pictures are for the parents. Therefore, they always highlight the importance of the right backdrops in baby photography for delivering what these parents deserve.

The perfect backdrop for baby photography

While paper and fabric backdrops both have their pros and cons, Vinyl backdrops are the one that easily win. They are made of a top quality 13 mil substrate vinyl and give you a smooth, seamless surface to shoot with. Vinyl backdrops have a matte finish and give you the same non-reflective surface like paper and fabric.

But unlike paper and fabric backdrops, they are very easy to clean. You can even wash the backdrop and it will remain perfectly fine. The material is made to endure and once you purchase it, you can keep using it regularly for years. It can even handle rough usage and you can hang the backdrop and forget about it.

So when it comes to baby photography, vinyl is easily one of the top choices. Its easy to clean nature makes it helpful for any shoot with babies. And its durability ensures that it is a very sound investment for every photographer.

We hope this extensive blog helps you make the right choice of backdrop while getting ready for baby photography.

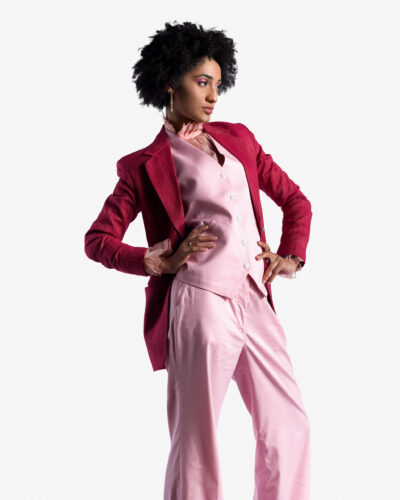
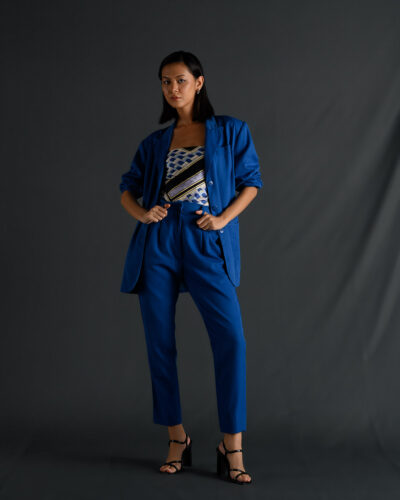
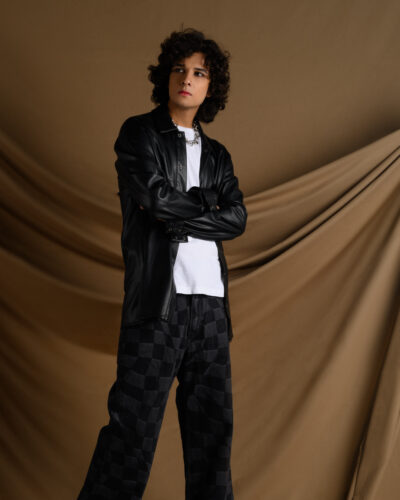
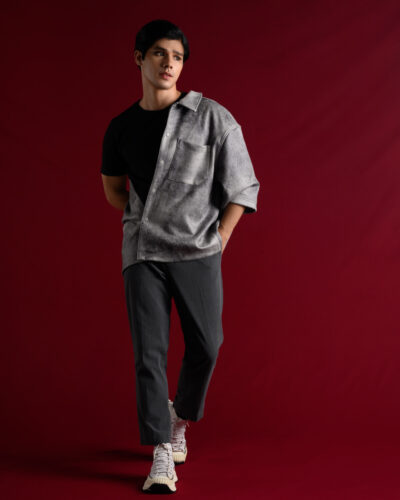
Do you need backdrops as a Fashion Influencer?

Fashion photography no longer remains the domain of highly influential and experienced photographers. In fact, new players have entered the game in the form of digital creators who create stunning visuals in their homes with much more affordable equipment. It is one of the most popular kinds of content on Instagram. And if you are a fashion influencer, or aspire to be one, then this blog will guide you through the process of how important photography backdrops are to the content you create.

Make Your Content Professional as a Fashion Influencer

While you can easily create images and videos with your phone and no fancy light setup, it is not going to be the same as professional creators on the platform. You can choose a great setting but it will not be the same as the content shot in a studio space. You might think making your visuals look like they are shot in a studio space is not important. But let us tell you that it is. People love images and videos that have a high production value and that look much better than anything they can create. It is all about making things look aspirational. If you decide to post normal, everyday clothes as a fashion blogger, then would your audience still be interested in your work?

Backdrops are a standard in most kinds of photography, but especially in fashion. Most studios stock an entire range of photography backdrops. They are a necessity when it comes to creating fashion content because they provide the quality background needed to display the clothing. They give you a clutter-free space that instantly looks professional.

Backdrops Bring Focus To Your Content

Backdrops are the easiest way to get rid of all the noise in the background and minimize all distractions. They ensure that the focus is completely centred on the subject of the shoot. Whether it is an outfit, makeup, jewellery, shoes, or just the person in the image, the focus remains solidly on the subject when a backdrop is in play.

There are three broad categories of backdrops used all over the world – Paper backdrops, Muslin backdrops, and Canvas backdrops. Paper backdrops come in one single colour and are often without any texture, made to give you a seamless effect. While Muslin and Canvas come in single colours and in painted variations too. All these backdrops have one thing in common – they are all non-reflective surfaces that absorb light. Any shine or reflection you would get from other surfaces is eliminated with the use of a backdrop.

The biggest benefit of a backdrop is that it gives you a complete set in itself. All you need is a backdrop stand to set it up properly and it removes everything unwanted from your shot. Whether you are using a paper backdrop or a cloth backdrop, it helps you reduce noise from your environment.

What Backdrops can you use as a Fashion Influencer?

There are benefits to both Muslin and Paper backdrops and we’ll tell you about both.
Paper is the first choice of industry professionals and it is everywhere in studio setups. They come in the form of a roll, so you can easily put them up on a backdrop stand and unrolled for usage. Seamless paper backdrops or single colour paper backdrops are the most popular ones. There are printed versions and paper backdrops with patterns but Content Creators often use single colour paper backdrops.

All you need to know about paper backdrops.

Paper backdrops are completely seamless and give you a smooth and even texture. It is the seamless quality of the paper that makes it more popular among Fashion Influencers everywhere. They provide the perfect plain background that helps in highlighting different coloured outfits and unique prints, patterns, and designs.

However, they are a little bulky and you can’t handle the paper roll alone because of its weight. If you are not careful with the storage of your paper backdrop, it might end up forming waves or creases through the paper. The paper roll has to be rolled up tightly and secured with tape to keep it fixed in place. And since they come in the form of a roll, they need large spaces to work with.

All you need to know about muslin backdrops

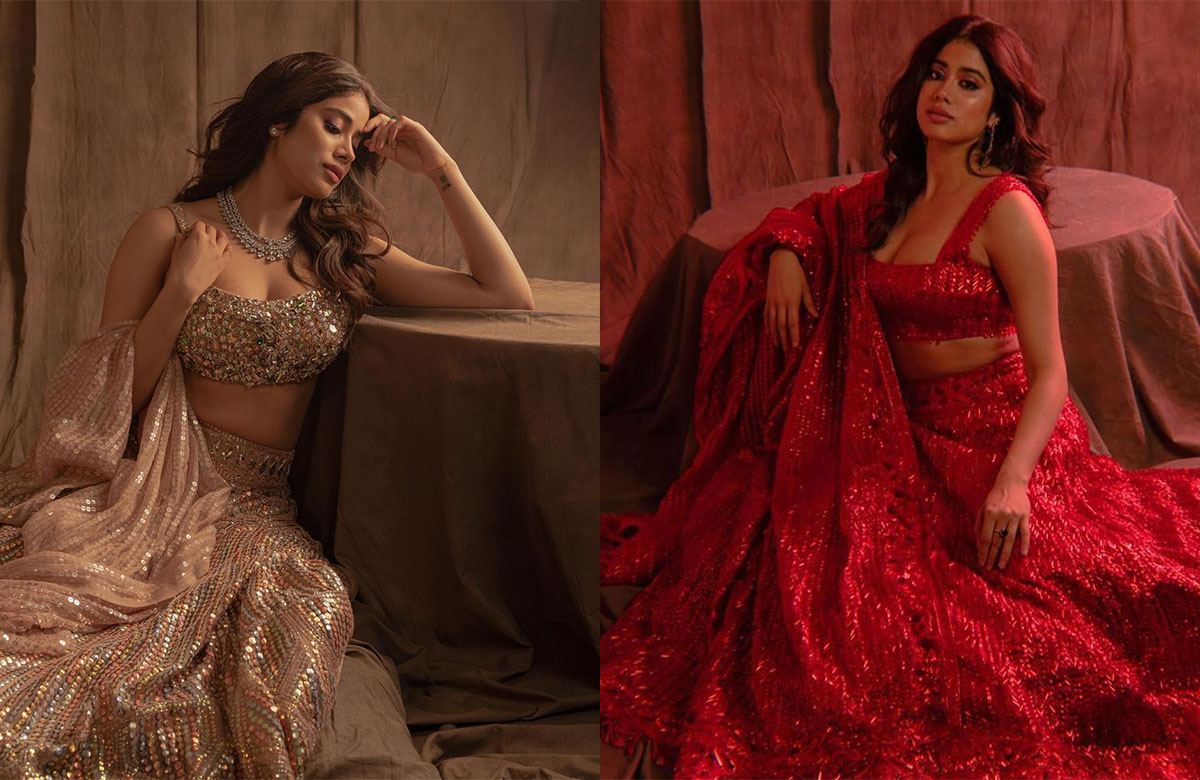
Muslin backdrops also give you the same seamless background that is smooth and even. They are less reflective than paper backdrops and will be easier to light. There are two broad categories of muslin backdrops, the Solid Muslin and the Mottled Muslin backdrops. They have more texture to them and they also come with various designs. Muslin backdrops are great for close up portraits and they will give you more dynamic and dramatic images.

The best thing about muslin backdrops is that they are very lightweight and you can carry them anywhere you want. You can easily create a setup in a small space with muslin backdrops. They are also very easy to store and if you take care of them, they can last you for several years. And, they are much more affordable too.

As Muslin is a 100% cotton fabric, it is a material that can get natural wrinkles. And it’s not possible to keep it free of all kinds of creases and folds. But you can easily get rid of them with a handy steam iron.

What Colour Backdrops to Choose as a Fashion Influencer?

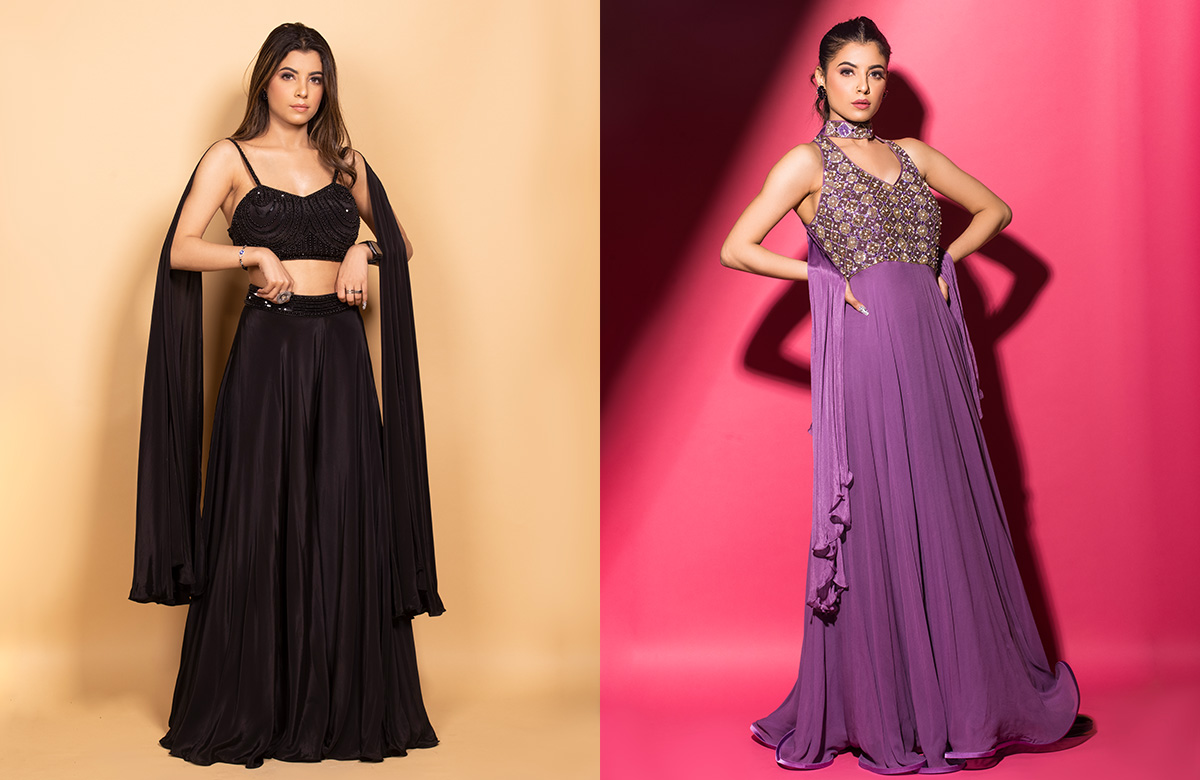
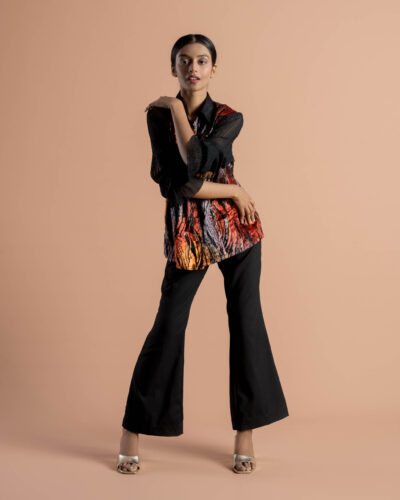
If you want to play it safe, then white is the best option for a fashion content creator. It is perfect works with the entire spectrum of colours and it will always highlight your outfit when you click a picture against it. You can also experiment with different lighting setups and add different coloured highlights to your white backdrop. White, Super White, Bright White, Bone, Cream are different shades of white you can go for. However, at the end of the day, white can also make your content look like e-commerce photos and videos.

Another popular colour is grey, ranging from Slate grey, Thunder Gray, Dove Grey, Lunar Grey, Platinum Grey, every possible shade. Grey is also popular for its neutrality just like white. It highlights the entire spectrum of colours and stays in the background, providing you with a solid platform to shoot with.

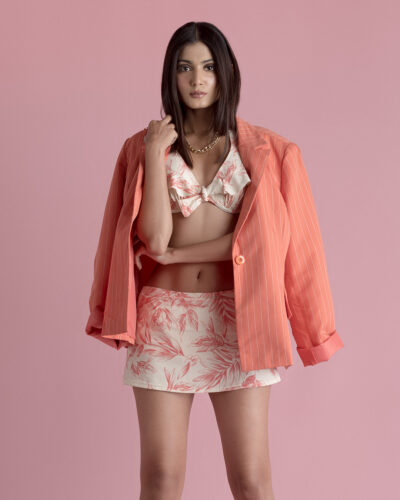
Beige is a colour that has risen in popularity very quickly. Lately, more and more Fashion Influencers are opting for Beige, Wheat, Tan backdrops as it has become quite trendy. Unlike white and grey, it has a more noticeable presence in the background. But just like the previous two colours, it also does a great job of highlighting different colours. It is a colour that compliments Indian skin tones and works perfectly with all types of Indian complexions. When the backdrop matches your skin tone, the makeup and apparel pop even more.

Go big and bold with colours and textures

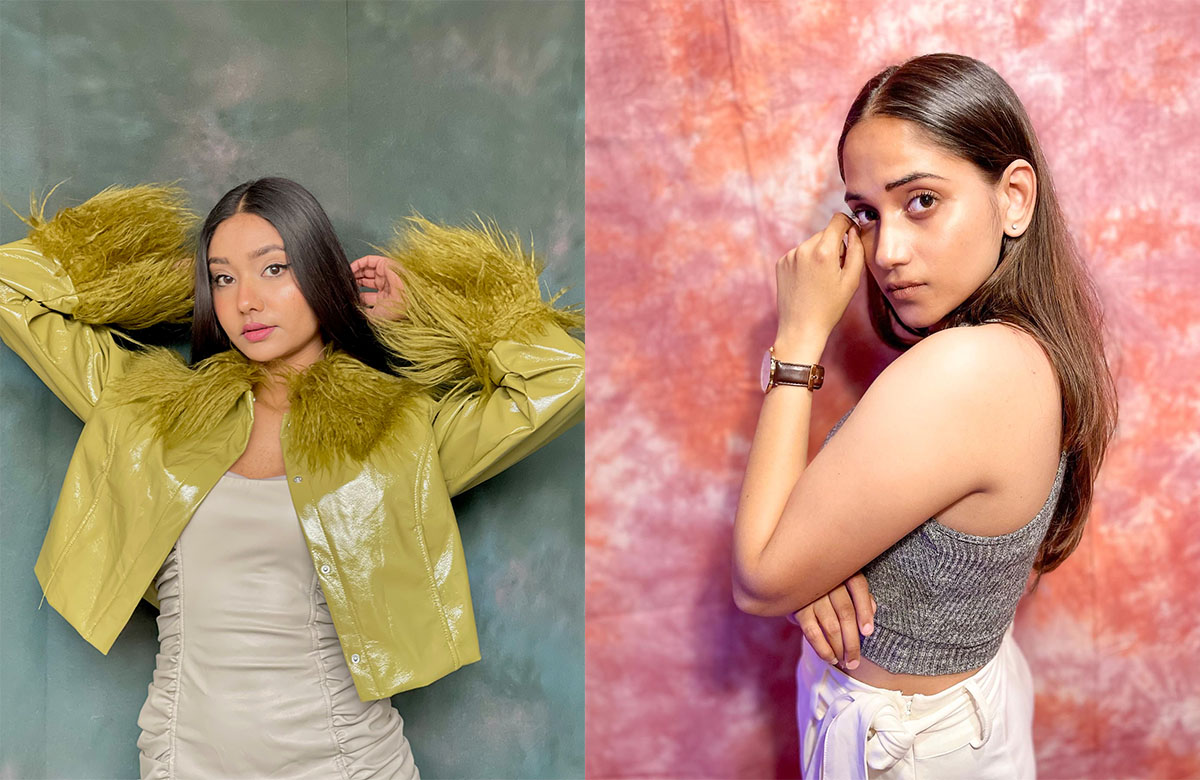
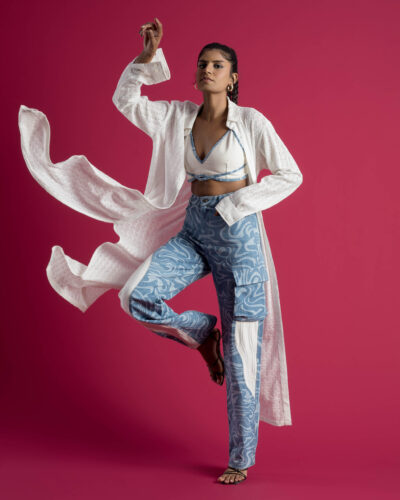
Blue, pink, orange green, yellow, black, there are so many colour options you can go for. But the question is, do you want to stand out from the crowd and make that statement? There are many fashion influencers who have opted for bright and bold colours and their content is even more compelling. Mottled muslin is also a great option if you want to play with varieties of colours and textures. They are created with different colours and dyes, and there is a texture that appears in your visuals.

Now that you know everything there is to know about backdrops, use them to create content and become the Fashion Influencer you aspire to be.