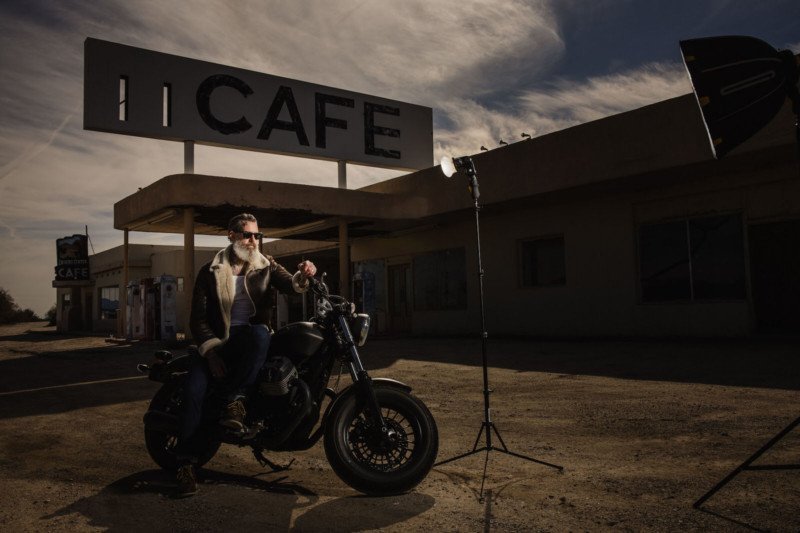
In this video, I’ll show you a simple Photoshop compositing technique to remove light stands from your images in less than two minutes. Then, we’ll do a complete rundown of how the image was shot, lit, and processed.
Why is Compositing Useful?
Here are some reasons why you’ll want to spend a minute and learn this technique:
1. Not enough flash power: We’re often working with lights that don’t pack enough power to be placed out of frame. Although medium-large strobes (like the Profoto B10 or Godox AD200) have become quite popular, they aren’t in everyone’s toolkit.
2. Shooting wide: maybe you are looking to achieve a wider composition but still need to add light to your subject.
3. Creative purposes: maybe you are intending on using your lights to really spotlight your subjects and getting your light stand close to your subject is the easiest way to do this.
Regardless of the reason, this is a useful and simple technique to master, here are the steps. To make this quick, we’ll jump straight to the editing portion of this tutorial, assuming you’ve already shot a “plate image.” If you don’t know what a “plate” shot is, watch the video in full, or start with the section below on “How the Image was Lit and Photographed.”
Posted in PetaPixel by Pye Jirsa
Related posts
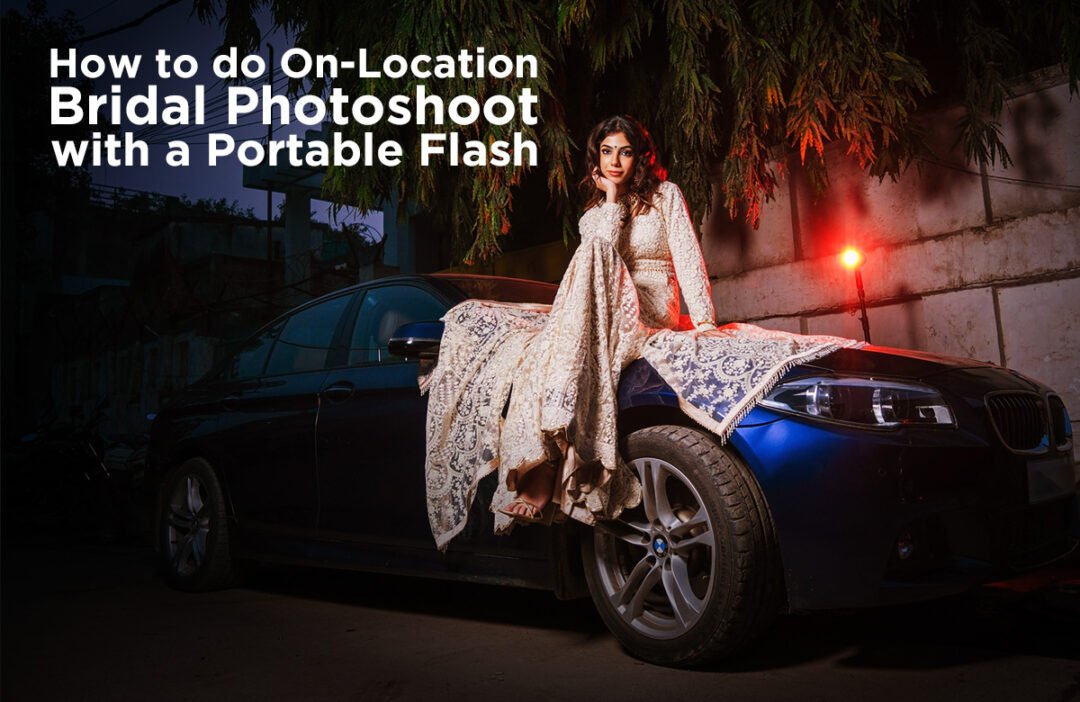
How to do On-Location Bridal Photoshoot with Portable Flash?
Photographer to Entrepreneur: Building a Startup with CEO Archisman Misra
AriesX Studio Flash Launch: The Future of Photography Lights
Need Help Choosing Your First Camera Light? Read On.
The Best Backdrops for YouTube Videos
Why Choose Handpainted Backgrounds?
Meet the Seamless Paper Collection of Indus Papers
Black Seamless Paper vs. Black Vinyl
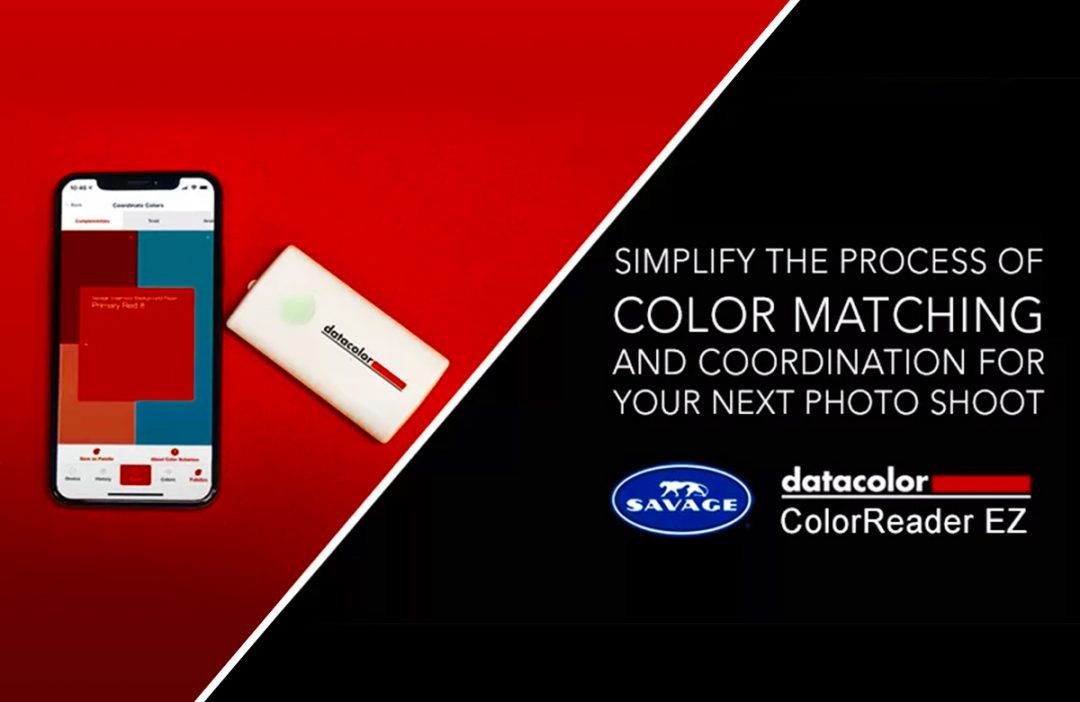
Backdrop Colour Selection for Photographers simplified with the Datacolor ColorReader EZ Tool
Rechargeable Wireless Microphone: Things You Need to Know
A Wide Range of Product Photography Backdrops
Canvas Backdrops: Everything You Need To Know
Recent Posts
Product categories
- Backdrop Combos 17
- Cameras 32
- Handpainted Backdrops 179
- Lighting & Studio 232
- Muslin Backdrops 283
- Mottled Muslin 144
- Portable Backdrops 81
- Single Color Muslin 58
- Canvas Solid 4
- Deluxe Solid 14
- Solid 40
- Paper Backdrops 286
- Polyester Backdrops 28
- Pro Audio 19
- Tripods, Supports & Rigs 12
- Uncategorized 0
- Vinyl Backdrops 17

